iGlasses
- clouddownload Download
Requires macOS 10.12
or newer.
Compatibility Note: iGlasses is not compatible with FaceTime or Photo Booth due to restrictions on virtual cameras.
Quicktime Player does not support iGlasses, or other virtual cameras, on MacOS 11 (Big Sur).
Quicktime Player does not support iGlasses, or other virtual cameras, on MacOS 11 (Big Sur).
You’ve never looked so good
With iGlasses, you can tap into brilliant effects and style adjustments
to achieve your perfect webcam look.

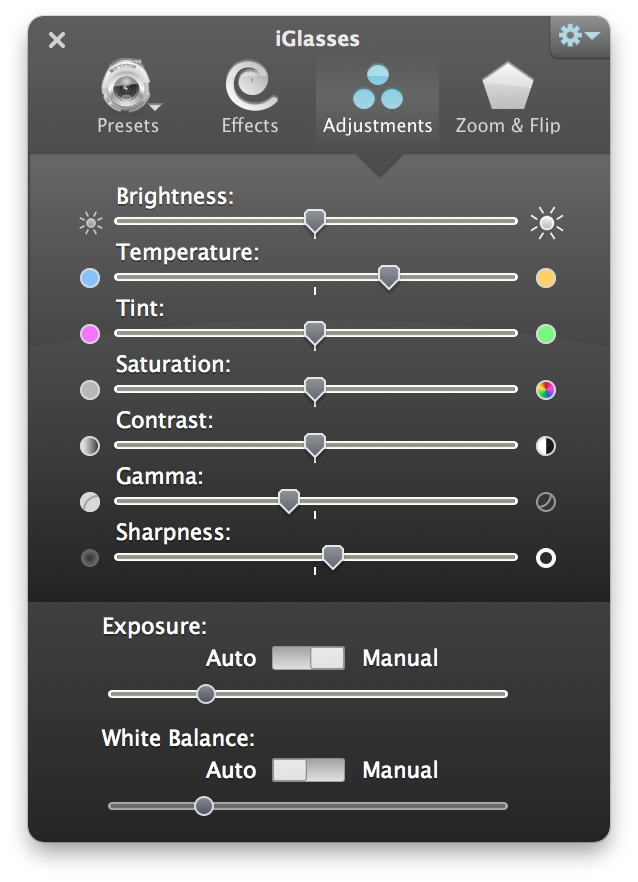
Personal fine tuning
Lighting not working for you? No problem. From brightening adjustments and color corrections to fun effects and 3-D distortions, all with HD quality.
Works with Chrome
iGlasses works great to enhance your camera video in Chrome-based communications tools like Facebook Live, YouTube Live, and Google Meet.

Effects anywhere
iGlasses boasts over 50 effects and styles to get you webcam ready, including face tracking and 3-D effects.
Zoom in for your close-up
Digital pan and zoom controls give any webcam the ability to zoom in for a tighter shot.
- Download
v3.5.7 (13.5 MB)