Church live streaming is only made possible by your gear, but there are hundreds of options out there and it’s not always easy to know what you should invest in.
In this post, the Church Media Guys break down their favorite pieces of equipment to use for church live streaming, no matter what the setting or budget.
Remember: you can always start small and budget-friendly and work your way up. The most important thing about live streaming is the content itself. Everything else can be tweaked and enhanced as you go.
In this post we’ll cover
- The best church live streaming gear recommendations, including cameras, encoders, microphones, and lighting
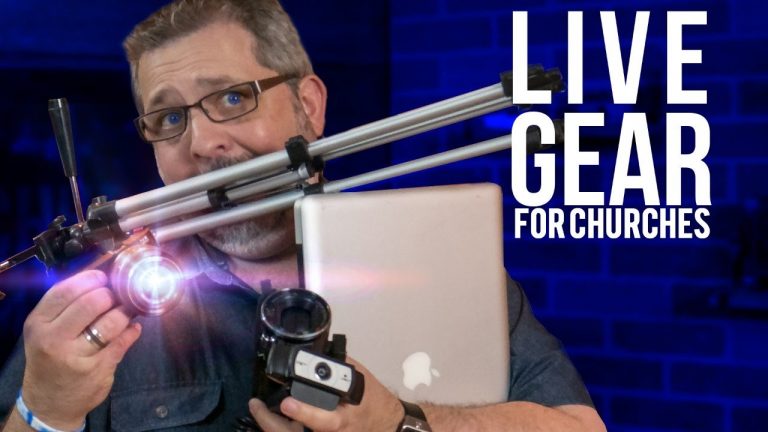
Watch the full episode
Stream Your Church with the Church Media Guys is here to help churches succeed. In each video, Justin and Dave tackle questions having to do with church live streaming and virtual church.
Want to try Ecamm Live for free? Visit www.getecamm.com to start your 14-day free trial today.
Download the FREE Guide: “Live Streaming for Churches – The Easy Way”
Recommended Gear
Cameras
Encoders
Microphones
Lighting
What Live Streaming Gear Should You Buy and Why?
You want to learn how to live stream, but you don’t know the gear to buy? There’s hundreds of options matching multiple budgets. What should your church invest in you want to be responsible?
We get it. In this post, we’re going to share with you the gear that we love, the gear that we use, and the gear that we’ve tested and recommend for our own churches. Let’s get to it.
When it comes to live streaming gear for churches, a key value that we have here at Church Media Guys is that we want you to be a good steward of your finances. That is not something to take lightly. You can be a good steward when it comes to buying your livestream equipment. It’s important to note that being a good steward does not mean being cheap or buying the cheapest thing possible. Being a good steward means investing your money and resources in the stuff that’s going to provide you the most value. Value is also your time and manpower.
Cameras
Last week we talked about the four modes of live streaming. You’ve got Selfie Mode, which is just “hey, what’s going on guys”, you’ve got Indie Mode, where you’re adding and adapting stuff, you’re modularly adding to your equipment that you already have … probably your phone. Then you have Desktop Mode, which is kind of like your office or maybe your church service or a conference events small group. And finally you’ve got Broadcast Mode, which is when you’re actually buying like heavy duty live streaming equipment switchers and such. So we’re going to touch on all those as well.
When it comes to Selfie Mode, you literally have everything you need in your hand. Start by using your phone camera and built-in microphone and consider adding on things like phone lens kits, tripods, or a plug-in microphone as you level up.
Moving into Desktop Mode, it’s the same concept. Start off with just your Face Time camera and built in microphone and when you’re comfortable with using those, then it’s time to consider adding a webcam in.
If you’re looking at a smaller budget, you can get the Logitech C920 or C930 webcams. These are great cameras. They do 1080 and 30p, so you’ll see good quality with either. The other good part is that they’re incredibly easy to use.
If you’re looking for a camera that will help you capture good quality video of a small group or a conference room setting, you might want to step it up from the Logitech and go with either a video camera or something like the Sony A6400 or Canon M50. Or really any of the inexpensive, high-quality mirrorless cameras.
Mirrorless cameras are just what they sound. They don’t have the mirror inside like a DSLR, so you’re actually writing the image directly onto the chip. This also means that they’re smaller. They have really great quality and interchangeable lenses, so you can swap out whatever lens you need, according to the situation you’re in.
For example, if you’re in your study you can use a wide angle lens. If it’s going to be up close, you can go with a 25 millimeter lens or a 50 millimeter lens. Get lenses that have different aperture settings than the one that comes with it. If your camera comes with a 3.5 f stop, you can buy one that goes down to like 1.7, which basically means that that what what is in focus which would be say you is like really sharpen and focus but stuff behind you would be blurred out nicely.
The Sony 6400 is a pricier option, but it’s a great camera that is really versatile. I just bought one for a friend of mine that live streams from her studio. She’s a musician and so she’s doing her live streams using it at her workstation. But then she also moves it around and live streams at various little sets, like her drum set, her interview set, things like that. And it’s great.
The major benefit of getting one of these cameras is that you can go out and shoot B-roll with it or vlog with it. You can grab event coverage. You can also live stream your services in a more formal setting. It’s a really flexible camera.
If you just want a video camera and don’t have to fuss around with it a whole lot, something like something like the Canon Vixia is a great option. This is a very small camera that gives great quality for a low price. You can get a Vixia or a Sony Handycam for anywhere between $200 to $300. These are entry level video cameras, but you can live stream with them and use them in a variety of different ways around your church. Bonus: they have image stabilization built in, which can be really helpful if you’re on the go and the camera gets jerky.
Let’s move into live streaming the actual church service. We talked earlier about how you can use the Sony A6400 (or another similar mirrorless camera) for this. It’s a great multipurpose camera that you can take it with you to camp, you can take it with you to events, you can take it with you on a Saturday morning to the men’s lunch and take really good pictures and really good video with it. It doesn’t just have to park in one room and sit there becoming a liability, it can continue to be an asset. And that again, comes from being a good steward. You’re getting more value out of these tools.
For your sanctuary, you could just go with a good quality camera that you can use in other places, if you need to. I love Canon cameras. I’ve been using Canon video cameras for a couple of decades now. The Canon XA line of cameras is great, whether it’s the 10 the 15. I believe they run close to $1,700, but it’s 4K. If you buy something that is is 4K, you’ll need to remember that you may not always be live streaming in 4K. Facebook doesn’t allow for it and you need to check to see if your encoder can handle it. Ecamm Live has 4K live streaming, but it’s in the Pro level package.
The important thing to remember is getting something that will last you for a while. In fact, I’m using one of the original Sony Vixia camcorders. It’s well over 10 years old and I’m still using it at our church as our second camera. So these things can last for a long time if you take really good care of them.
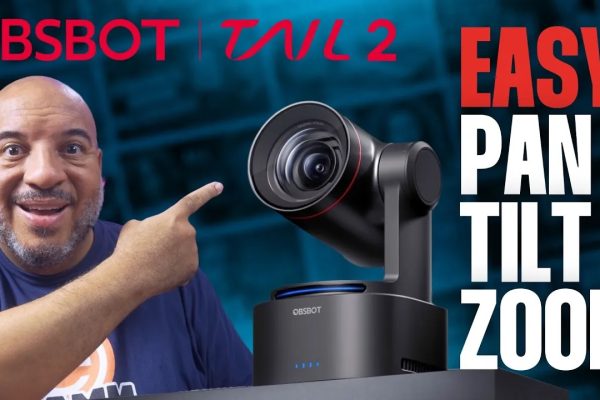
A lot of us hear stuff about PTZ cameras. What are PTZ cameras and what’s the big deal? Why are they so expensive?
PTZ is an acronym that stands for PAN, TILT, ZOOM. It means that you’ve got a camera that has servos built into it so that you can remotely control that camera and add presets. For example: you can have a joystick and go up or down and also control the zoom.
These are not cameras that you’re going to be using at conferences or running around your church parking lot with. These are studio cameras that you would put into your sanctuary. They are more expensive, so you’ll just need to make sure that it makes the most sense for your church.
Capture Cards
Okay, let’s talk about capture cards. We still get questions all the time about capture cards. Tell us what why do we need a capture card? Why can’t we just go HDMI out and from the camera into the computer and just be done with it? What is the point of the capture card? Why do I need one? And of course… if I do NEED one, which one should I get?
A capture card basically takes an HDMI input signal and converts it into a signal that your computer can read.
Now, since we’re talking about Mac computers and we’re using Ecamm Live as our live streaming app, we’re looking at USB capture cards, specifically USB-3 (or Thunderbolt if you’ve got an older computer that doesn’t have a way to ingest it).
I see this a lot. Well my laptop’s got an HDMI port, why can’t I just plug the camera into there? Because that port is out only. It’s meant to go into a big screen or to another monitor. You got to have a way to suck in the signal. So that’s what capture cards are. Most of the USB capture cards are going to be dongles. You can use a little extender if you need to. I always say that you should use an extender because you don’t want to be putting pressure on the cords.
The most popular and well-liked capture card out right now is the Elgato Camlink. It’s in the $130 range and it works great. It does 4K and most cameras will work with it. It’s very easy to use. Basically plug and play.
The other common one is the Blackmagic Ultrastudio Mini Recorder. I use it all the time. And then you’ve got other lesser known ones that will do the trick, but may not have all of the bells and whistles or troubleshooting help that the major ones will give you.
If you have a smaller budget, you may want to go nicer on the camera, which will leave you less budget for a capture card. Thankfully Ecamm Live will let you connect most cameras to your Mac with just a USB cable and will work just fine for live streaming so you may not even need a capture card.
Audio
Having great audio for your live stream is actually much more important then even your video quality because if people can’t see what you’re doing, at least they can hear you. But if you sound terrible and the audio is choppy, they’ll likely get frustrated and leave your broadcast. We’re more willing to forgive an imperfect image than imperfect audio.
Like we said in the camera section above, the easiest plan is to start with what you have. If you’re in Selfie Mode or even in Desktop Mode, you’re best off starting with your phone’s built in microphone, your computer built-in microphone, or even a headset that has a microphone built in (like the Air Pods, for example).
If you want to take it up a notch with your phone and Selfie Mode, then Movo makes a wired microphone called the PM10. It’s got a short cord, but it’s a solid little mic. You can actually get an extension cord for it, which is always a good idea so you have more flexibility. Look to get a 10 foot or 20 foot cord. So those two together, work out great. They’re not expensive either. That’s a great place to start.
Now if you’re going to be capturing an event, then you want to step up to a small shotgun mic or something like that. Rode VideoMic Pro or Audio-Technica have some good options. Again, you’d use these alongside your phone. These mics can help take the sound that’s happening in the room and bring it into your phone for a live stream or video recording or if you’re doing just stand up stuff as well. So these are on the low end.
If we want to go into a little bit more Desktop Mode live streaming, say for a small group conference room environment, then you’re going to want to start looking at a mixer with a couple of different mics. For example, you can have a shotgun mic that’s on a boom pole along with some wired or wireless lapel mics.
The important thing to remember is that there are different microphones for different situations.
Right now I’m using a Shure SM58. It’s a Shure SM58 that has a switch on it so I can turn it on and off. The Shure SM58 is a microphone that’s been around since the mid 60s. It really hasn’t changed a whole lot. They’re bulletproof. It’s got great range and is incredibly popular. A microphone like this is a great all around mic to have.
For mixers, you can start with something like the Behringer XENYX Q502 USB. It’s got a handful of inputs on it. You can take the audio tracks and send them into input one and take the vocal tracks and send them into input two and then do things like turn the music down, turn the vocals up, and more. It gives you control.
You could scale that up as big as you need. And as big as your your system will let you do. You can even get where you literally have a complete duplicate of everything that’s going into the sounds. I mean, there’s, there’s all kinds of things you can do that when it comes to the microphones, dynamic mics, you know, for something like being on stage. If you’re in a controlled environment, condenser mics is something that you can use. Shotgun mics are great mics for putting on a boom pole or for sticking on a camera or putting somewhere else in the room. Our choir mics in some cases are like little shotgun mics.
Unfortunately, I can’t say always go with this one mic because everyone’s use cases and set-ups are all different. And your needs are different, too. You need to know what’s out there and then adapt what you have and add on from there.
Lighting
OK, same as the above gear categories, let’s start with Selfie Mode. If you’re in Selfie Mode, you’re going to want to start with a ring light. It just sits outside of your camera and gives you a really night halo of light. They’re not overly expensive and a great starting point for anyone getting into photography or video. This one was like $15 dollars and you can even change between amber light and white light. It just clips over your phone camera.
Also, it’s important to not forget about the greatest light ever created… the sun. Depending on where you’re live streaming from, you can get pretty good lighting just by thinking through where you’re positioning yourself in your space and what time you’re broadcasting at.
Remember to not put yourself with a window behind you, but you can use that window as a light source. Having that light hitting your face will really help and then you won’t need to rely on overhead lights. Overhead lights can be terrible in adding shadows and causing issues, so you’re better off turning them off and positioning lamps around.
Another option is the Viltrox. It can be battery powered or plugged in and left on all the time. Like the ring light, you can change the color of it to match what the lighting is like in your room.
When we start getting into a full auditorium worth of stuff, your stage should be well lit. You want to make sure that the people that are sitting in the seats can see, but also make sure it works for what you’re capturing on video. Tweak those sort of things. Try not to have these pockets of darkness and then have people doing things in these pockets of things. Be sure that you get those lights angled. I’ve found that if the stage is well lit, then the camera is going to perform very well. It’s going to pick up everything fine. Make sure you’re white balancing (especially if you’re using multiple cameras) so that everything is matching as close as possible.
We’re here to help!
Wherever you are right now with your church, you’re not alone and we’re here to help. Watch Stream Your Church videos on YouTube.
Or…
Visit Church Training Academy to learn more about the skills you need to maximize your ministry.
Check out the FREE Church Media Hacks Community! http://ChurchMediaHacks.com
Become a Church Training Academy Insider: http://ChurchTrainingAcademy.com/Join
Join the Ecamm Live Community to network with other live streamers like you.
Grab your free 14-day trial of Ecamm Live and get started today.