If you’re thinking about getting into podcasting, you’re going to need to know what is the best podcasting gear and tech. Well, you’ve come to the right place. In this post, we’re going to break down all of the best options for success.
In this post, we’ll cover
- Microphones
- Cameras
- Other must-have podcasting gear
- Podcasting editing tools
- Podcast & audio tools
Watch the full episode
Want to learn even more?
ECAMM LIVE (Free Trial) https://iag.me/ecammlive
IAN’S GEAR GUIDE https://iag.me/gearguide
LIVE VIDEO CONFIDENCE GUIDE (opens with FB Messenger) https://confident.live/subscribe
CONFIDENT LIVE MARKETING SHOW https://iag.me/podcast
Today’s post is all about the tech and gear you’ll need to have an amazing live video show and podcast.
I’ve always been a big believer in bootstrapping your live video studio. By that, I mean starting small and then adding bits over time. It works really well for cameras and microphones and lots of other equipment.
Unfortunately, that plan doesn’t work for lighting. When it comes to livestream lighting, you’ll really want to think about the lighting that is best for you and your environment. We’re not going to cover lighting in this post though since our focus here is podcasting.
OK, let’s jump into it. What gear do you need for your live shows and your podcast?
You really only need four things to get started with a live video and podcast:
- A subscription to Ecamm Live—Software like this makes it easy to create impactful video AND grab your audio to send over to a podcast host.
- A USB dynamic microphone.
- A podcast host.
- A webcam, DSLR, or mirrorless camera. (You don’t need this one if you’re only doing a podcast.)
First, let’s talk about microphones.
Microphones are obviously the most important piece of gear when it comes to podcasting. In this show, you’ll probably notice that I have my microphone right in the middle of my shot. I’m not hiding it.
I do this because I’m using a dynamic microphone, and I need it really close to my mouth. If I step away from the microphone, you can probably still hear me, but the quality and the volume go down.
While some people may consider having your microphone in shot a disadvantage, I don’t mind. I like having my dynamic microphone this close because I turn most of my shows, including Confident Live Marketing Podcast, into podcasts; that’s the look and the vibe I’m going for. Additionally, if you have your mic in the shot and have a mic flag on it, that adds extra branding to your show, which is important to me.
As I record my shows, I have a laptop cooler and fans going on my computer. Plus, I don’t have the time or money to put acoustical tiles all over my office. Sometimes there is a lot of background noise, so I always recommend dynamic microphones instead of a condensing microphone, like a Blue Yeti. The quality is excellent, and they pick up on less background noise than other mics.
Another thing to consider when choosing a microphone is what type of look you’re going for. If you do not want a microphone in your shot, dynamic is not the way to go. Try looking for a lavaliere or shotgun mic.
Here’s a quick comparison of a few other microphones.
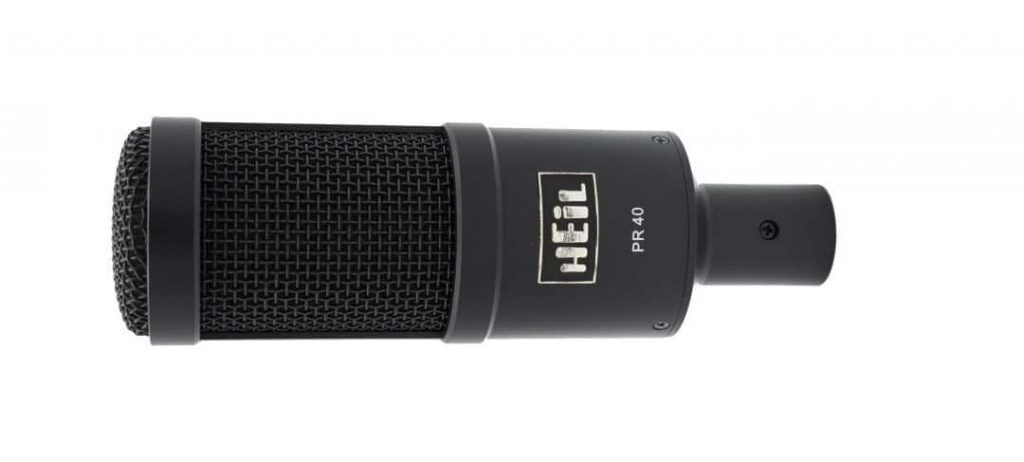
The mic I’m using here is a Heil Sound PR40 dynamic microphone with an XLR output, meaning I can’t plug it directly into my computer. Instead, I need an audio interface. It’s a little advanced, so I wouldn’t recommend starting with this mic. It is around $300, so it’s on the pricier side.
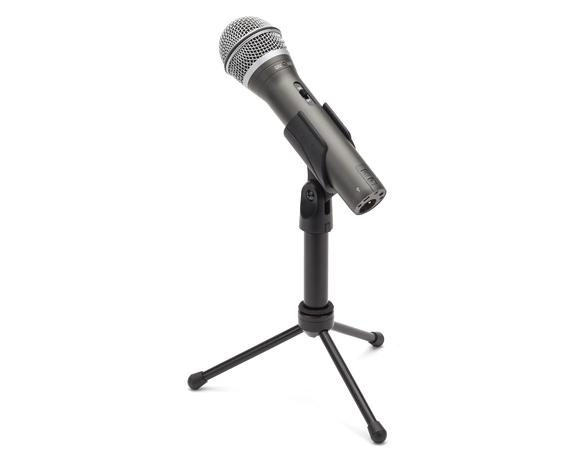
If you want to start simply, I recommend the Samson Q2U microphone. It’s a dynamic microphone with great sound quality, and XLR AND USB outputs, so you can plug it into your computer without any extra gear. It’s relatively inexpensive at about $60–$80 (possibly up to $100.)
Now, I’m going to swap from my Heil Sound PR40 to my Samson Q2U. What do you think about the quality of this one? Can you hear any background noise? You might be able to hear a little difference because the quality and sound levels are not the same, but not too much.
I also want to mention the Blue Yeti. The Blue Yeti is a very popular microphone and I used it for years when I first started my shows and podcasts. I love it because it looks nice and it’s a condenser microphone; you don’t have to be too close to it. It’s great if you want to play some music or if there are two of you speaking.
It’s an omnidirectional microphone with several different polar patterns, including cardioid, interview, and stereo modes. The standard Blue Yeti that I have only has USB outputs, but the Pro has XLR as well.
Now, when I switch to the Yeti, you’re going to hear some background noise right away, particularly if you’re listening to this on headphones. If you want your show to have a video feel with the mic out of shot, the Blue Yeti might be a good option; however, you will have to compromise with some background noise.
What you don’t want to do with this mic is turn the gain up too high and step away. While your audience can still hear you, it’s going to pick up on a lot of background noise from your computer and even your kids in the next room watching Netflix.
Everyone has their personal preference, so whatever microphone you choose, make sure it works well for you and your podcast. Consider the room you will record in, your budget, and how you want your audio to sound.
Let’s move on to some other gear.
If you’re going to stream your podcast live as a video, you’ll also need a camera.
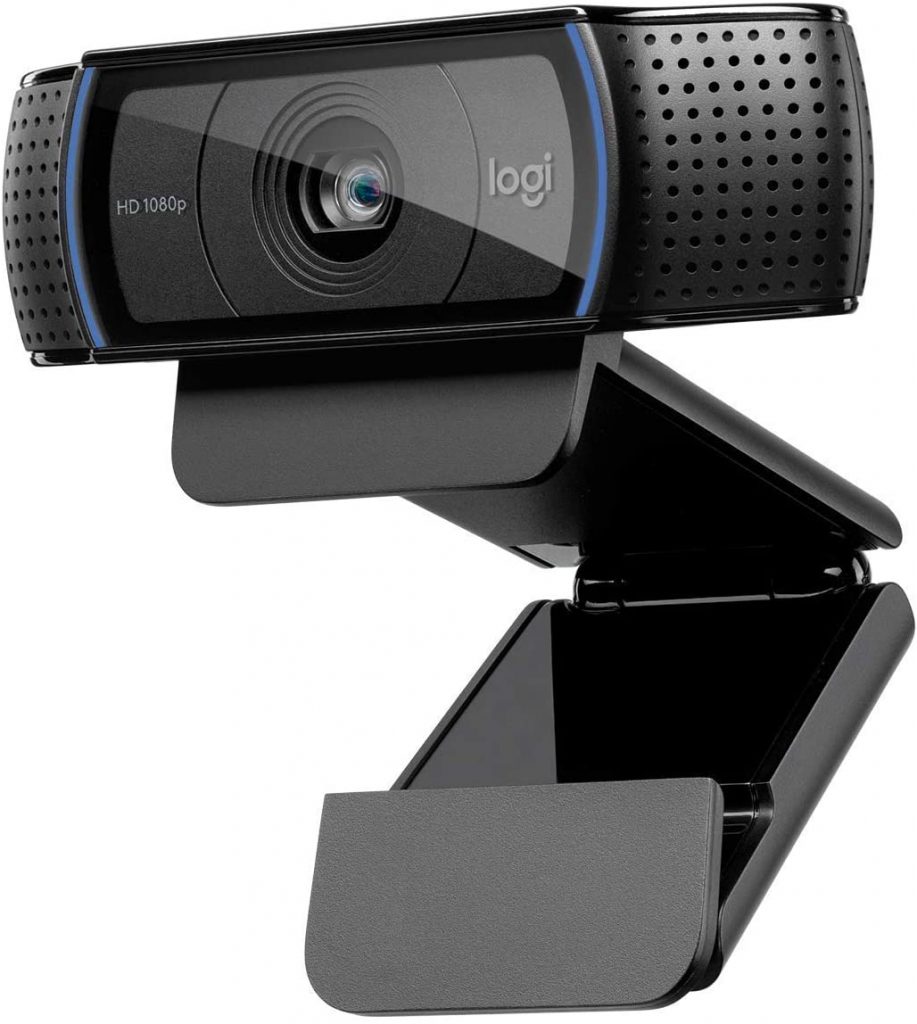
The first camera I’m going to show you is the Logitech C920, and it’s what I used when I first started live streaming. It’s a great place to start because it’s inexpensive but still has excellent video quality. I definitely recommend getting one of these as a starting point.
Now, let’s take a look at my setup. I have my MacBook Pro, my second monitor, my Heil Sound PR40, a teleprompter with my iPad, and my Canon M50 camera.
Some other tech I have is a digital interface, a powered hub, and my DBX 286s. Any sound from my mic goes directly into the DBX to get rid of background noise, and it helps my voice sound a bit more punchy.
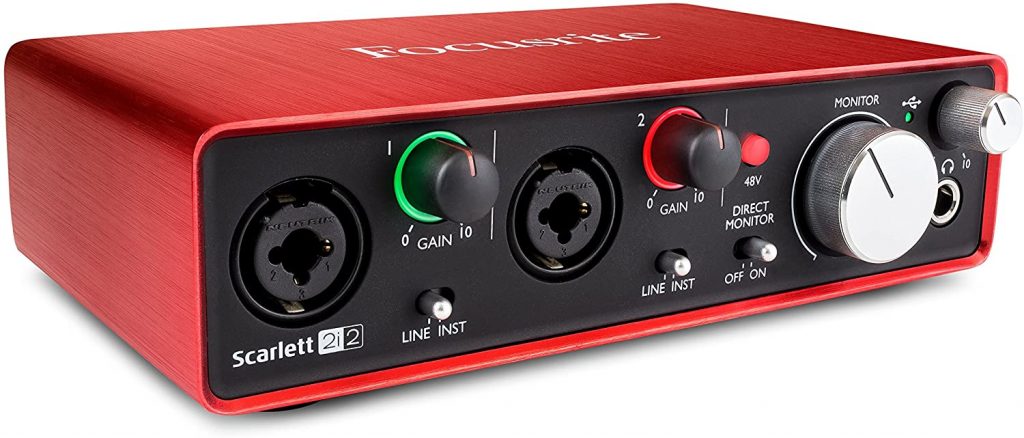
Next up, we have a compressor that also helps control sound and background noise, particularly words with “s,” and it has a noise gate. The output of that goes into the Scarlett Focusrite with its digital audio interface. If you want, you can plug your XLR mics directly into that. I have mine plugged into my power hub, which is then plugged into my computer.
Finally, I have my Elgato key light and some other lights, including an LED light and hue light bulbs that cycle through different colors, and I can control them from my phone.
One cool piece of gear is the teleprompter that I have hooked up to my iPad. I bought the teleprompter off Amazon and while I don’t use it for a script, I do use it to remind me of certain things and what I need to talk about next.
You also can have a boom arm, pop filter, and shock mounts. I have my mic in a shock mount, which means if I bump the table, you shouldn’t hear too much noise. The shock mount is connected to my Samsung boom arm, which is then connected to the table. Having this sort of setup makes a big difference in the quality of my sound.
If you want to find all of these products and more, check out the Live Gear Guide on my website. I have all the tech and software I use in my studio.
Podcast hosts and software are very important, too.
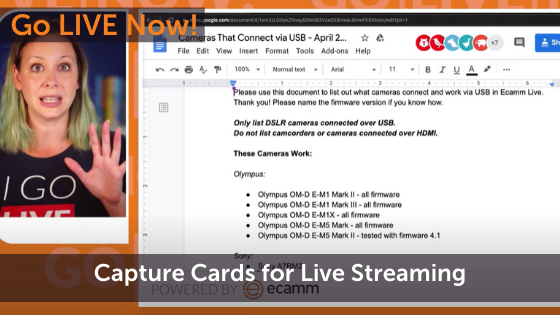
If you’re using Ecamm Live, you can go into live demo mode and check off “record isolated audio track” in preferences. So, in addition to standard recording, Ecamm Live will record each audio track as a separate file. From there, you’ll have different files you can bring into your podcast editors.
I recommend three podcast editors: Audacity, Adobe Audition, or Colin Gray’s tool Alitu. If you have a Creative Cloud subscription from Adobe, I suggest taking the time to learn Audition. That’s what I did for quite a while.
But, if you’re looking for a free tool, then check out Audacity. It works on both Macs and PC, and while it’s a bit clunky, it works really well. You can put different tracks into the program, such as your audio, your guest’s audio, and sound effects. Once you get the hang of it, editing your podcasts with Audacity is pretty easy.
With Alitu, the program basically does everything for you and gives you an easy way to edit your podcasts. It also has some cool features like normalizing the audio levels, cleaning up the audio, and taking care of all the optimization. Although Alitu is not free, it’s an easy all-in-one program. Upload your audio, clean it up, edit the episode, and publish it to your podcast host.
Another cool program you can use is Descript. With Descript, you can add the video from your show, and it will transcribe all of the audio. Then, you can edit the audio and transcriptions, and export it into different forms. Descript has many other features as well.
This brings us to podcast hosts. I use Captivate to create and broadcast my shows. Within their dashboard, I can quickly access my episodes. First, I select “Publish Episode” and add the audio. Then, I add all the information, such as title, subtitle, and show notes.
It can be a regular episode, trailer, or bonus. I don’t need to do this, but you can also check “Explicit” if you say any bad words. Then, I add the URL to where the episode is on my website, add a published date, and we’re set.
What I love about Captivate is the ability to publish my podcast with one click to multiple platforms: Apple Podcasts, Spotify, Google Podcasts, Amazon Music, Podcast Index, Player FM, and more.
After that, I add each podcast to my website, which is powered by WordPress. I have a page dedicated to all of my podcasts. If you click on the first one, you’ll see that I embed the podcast player from Captivate onto the post. I’ve added a short description for the episode as well.
There are other podcast hosts out there, such as Podbean and Libsyn, but I choose to use Captivate FM because it’s quick and easy to learn, and it’s very user-friendly.
To wrap it up.
If you want to get started with your live show or podcast, all you really need is a microphone, camera, podcast host, and ideally Ecamm Live Pro. After that, you can get the extras like a boom arm, pop filter, shock mounts, and other cool gadgets.
If you need a refresher, you can find all the gear and tech I use and recommend on the Live Gear Guide on my website.
We’re here to help!
Wherever you are right now, you’re not alone, and we’re here to help. You can watch all episodes of The Podcaster Hour on YouTube and leave us any questions that you have in the comments.
Or…
Join the Ecamm Live Community to network with other live streamers like you, grab Ian’s live streaming and podcasting gear guide, and try out his live video confidence guide.
And if you need another podcast to listen to, may we humbly recommend the Confident Live Marketing Show.