Are you ready to elevate your YouTube channel? One of the best ways to ensure more viewers is to create clickable YouTube thumbnails. After all, if you can get viewers to click on your videos, you’re more than halfway there.
But how do you make great thumbnails if you don’t have great design skills?
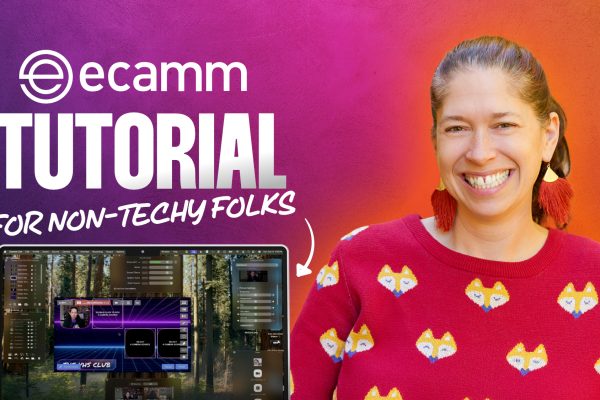
It’s easy when you create a simple workflow. Here are 6 steps to help you create engaging YouTube thumbnails using Ecamm Live. I promise – if I can do it, you can do it too!
Below, I’ve broken down the process into a detailed guide so you can follow along at your own pace, but you can also click above to watch the step-by-step video.
And if this content speaks to you, consider checking out our entire series on Clickable YouTube Thumbnails. If you register for this workshop, we’ll send you guided access by email and a bonus PDF with pro tips on getting the best photos.
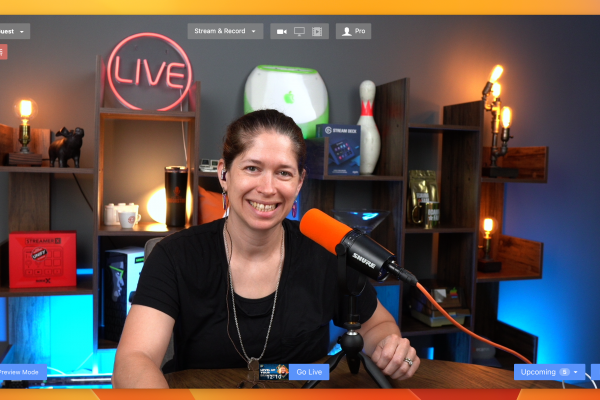
Step 1: Record a High-Quality Video
Begin by recording a video with Ecamm Live in your usual studio space where you have good lighting and your camera already connected to your computer. Make sure you choose the highest quality setting in Ecamm so that you get the best possible headshots – 1080p or 4K works best.
Good news! Unlike recording an actual video, you don’t need to worry about audio. You can move your microphone out of the shot and just focus on getting a video that captures some poses you can use for your graphics.
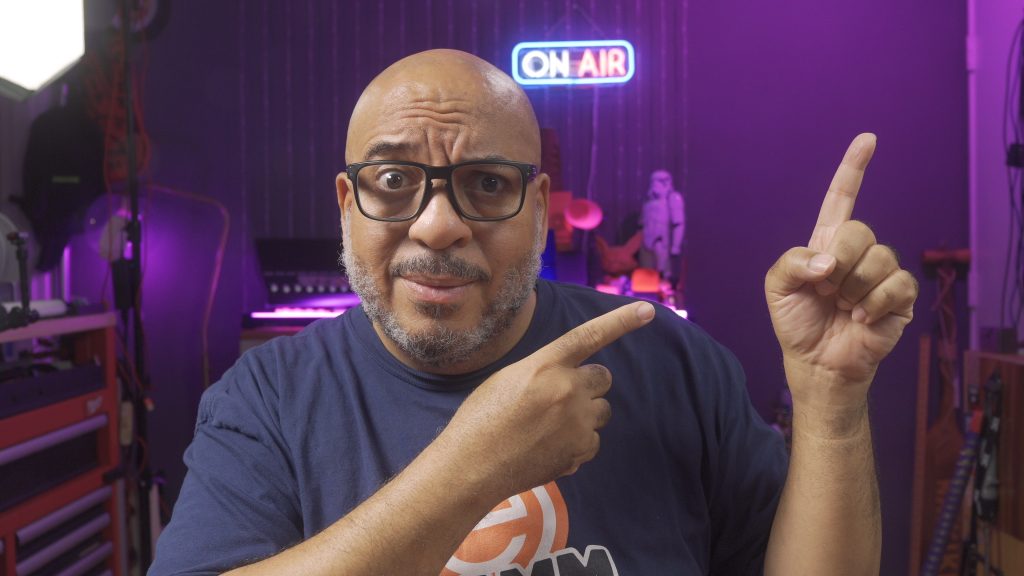
It’s OK get a little silly when recording these videos. It is going to feel a bit weird the first few times you do it, but it’s important to remember that people react to expressions and your YouTube thumbnails are way more likely to get clicks if you have a good variety of different options. You can point one way and then the other, smile, look shocked, look sad, look up, look down… whatever you’d like.
Hold each expression for at least five seconds to give yourself plenty of time to capture a clear screenshot.
If you want some advice on different poses and how to get the best shots in Ecamm, be sure to sign up for our Clickable Thumbnail Workshop here and we’ll email you a helpful PDF. That’s what friends are for.
Pro tip! Once you know what poses work best for you, write them down or print off some examples to stick near your camera so you don’t have to think about it when you’re ready to record. You’re going to want to be recording these videos on a regular basis to keep your photos fresh and unique.
Step 2: Capture the Perfect Headshots
After recording your video, play it back and pause at moments where your expressions really pop. Grab a screenshot of those moments, label them (so you can easily find them later), and toss them into a folder.
Whether you choose a quirky smile or a surprised look, these headshots will be the core elements of your YouTube thumbnail. And don’t worry about your background! Using software like Canva or Adobe Express will allow you to simply click “remove background” and you’ll be ready to go.
Here are some examples from a recent video shoot we did.

Step 3: Build a Repeatable Process
Consistency is key. Every time you record or stream with Ecamm, reserve a few moments—either at the beginning, the end, or even in between—to capture some updated headshots.
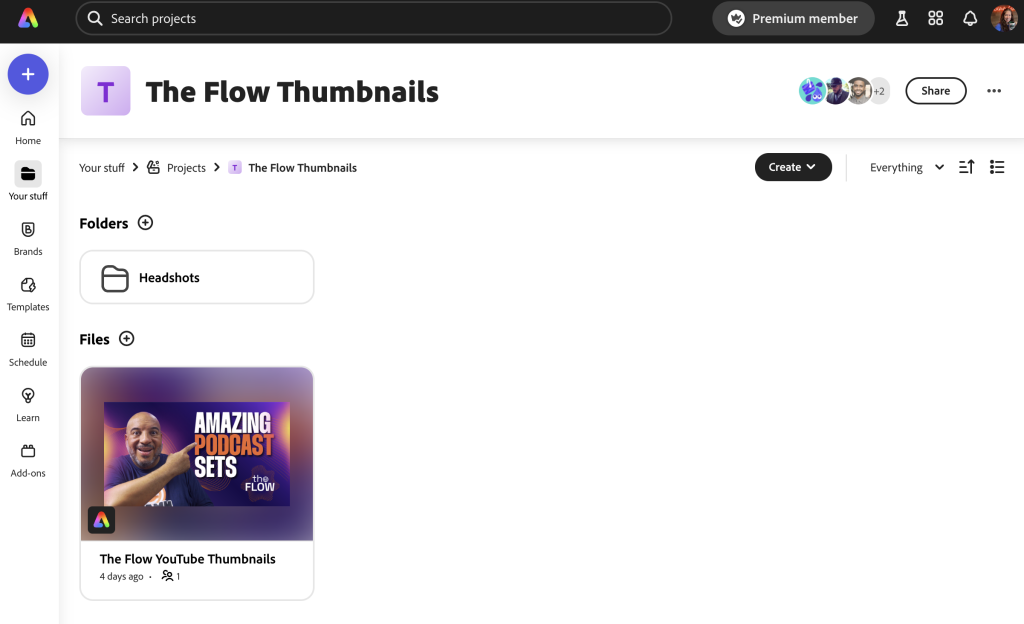
Create a dedicated folder in your favorite graphic software (like Canva, Adobe Express, or Photoshop) where you can save these images. These tools also help you easily collaborate on thumbnails with team members. Over time, you’ll build a collection of high-quality headshots that reflect your personality and style, making it easier to design engaging thumbnails on the fly.
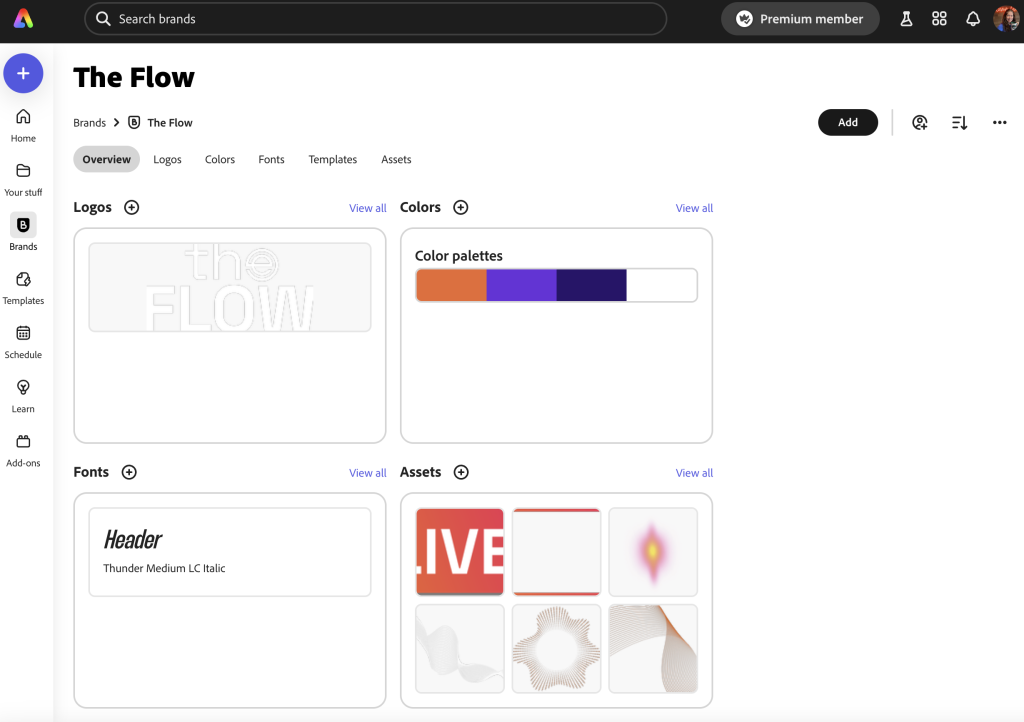
Step 4: Develop Your Brand Kit
Your thumbnails should not only be attention-grabbing, but also identifiable as yours. You’ll accomplish this by creating a brand kit for your channel, show, podcast, or project.
This kit might include your logo, a consistent color palette, your chosen fonts, and other graphical elements like icons or borders. These are the building blocks for creating graphics and if you keep them all in one easy-to-access spot, it makes it way faster to create new thumbnails (and other graphics) while also keeping everything looking on brand.
For example, in my project “The Flow,” our brand kit includes our logo, the colors we use, our font, and then assets and icons we can use when designing (like a live icon and a distinctive red border). These elements make up our overall brand identity for the podcast. It immediately tells our viewers what to expect when they click to watch one of our episodes.
A solid brand kit ensures that every thumbnail is cohesive and on-brand. And the great news is that you don’t need to be a designer to create a brand kit.
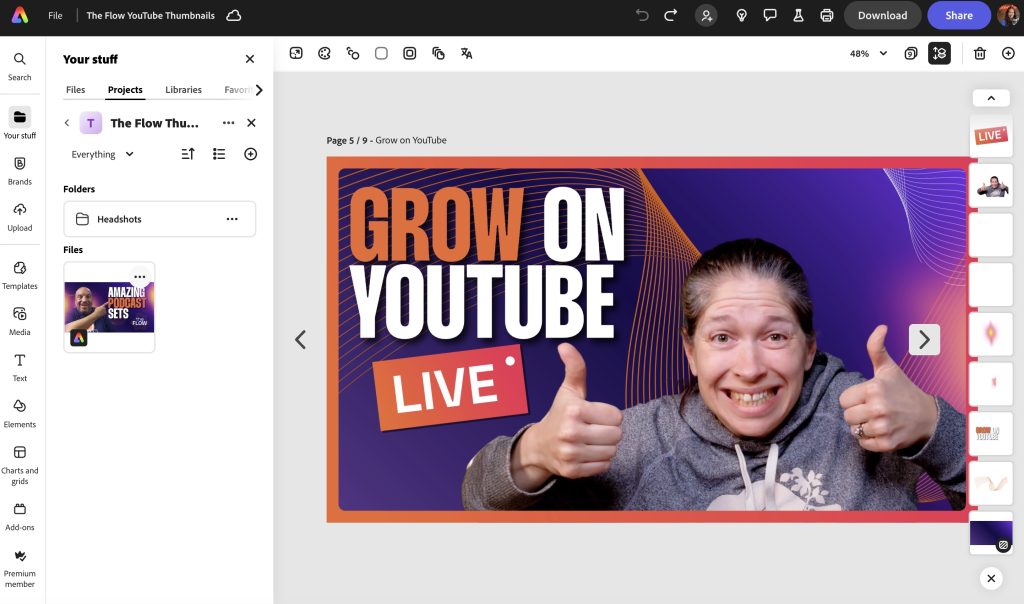
Step 5: Build a Thumbnail Template
Next, use your brand kit and headshots to create a thumbnail template.
A well-designed template speeds up your workflow and ensures a consistent look across all your videos.
In my example, I designed a template that features a dedicated spot for the headshot along with branded elements like a live icon and a colored border. Whether you’re creating thumbnails for live episodes or pre-recorded content, having a template means you can simply duplicate the design and make minor tweaks—such as swapping out the headshot or adjusting the text—without starting from scratch each time.
Step 6: Rinse, Repeat, and Refine
Now that you’ve established a workflow—from recording and capturing headshots to using a branded template—the final step is to make it a routine.
I can now produce clickable thumbnails in about 10 to 15 minutes every week. Regularly refining this process will help you quickly produce fresh, engaging visuals that attract viewers and build your channel’s identity.
Pro tip! When you’re done creating your YouTube thumbnail, shrink it way down to see how it looks when soemone is viewing it on mobile. Is it still compelling? What changes would you make?
Pro tip x2! Remember that you can A/B test YouTube thumbnails to see which perform best. Always test, tweak, and repeat to make sure you’re putting your best foot forward.
Final Thoughts
Creating clickable YouTube thumbnails doesn’t have to be a daunting task. By following these six easy steps, you’ll be able to produce professional and consistent YouTube thumbnails that stand out.
Remember, the key is to keep your design simple (no more than three to five words in a thumbnail), maintain consistent branding, and always choose a compelling headshot that draws viewers in.
Have questions or want to share your favorite thumbnail designs? Drop a comment below or join the Ecamm community at ecamm.com/community to connect with fellow creators.
Happy creating, and see you in the next post!