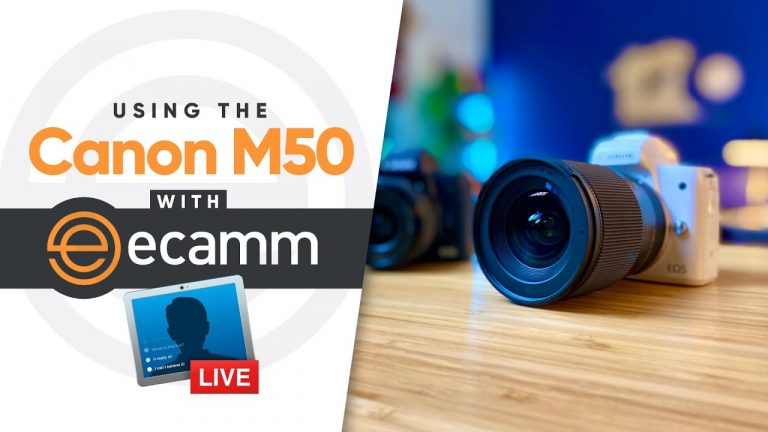
Ecamm Live helps you create professional quality live and pre-recorded videos using almost any camera. This includes webcams, DSLRs, and mirrorless cameras. Many cameras, including the Canon M50, connect with just a USB cable.
In this tutorial we’re walking you through how to use the Canon M50 as a webcam in Ecamm Live. It’s a great camera for creating quality live stream broadcasts.
Marshall will take you through how to use the Canon M50, along with lens recommendations, streaming settings, and more. You can even take your higher-quality video feed and send it through to other apps using Ecamm’s virtual camera.
The Canon M50 is one of the cheapest mirrorless cameras that you can get, but it still holds its weight. If you’re new to the camera scene, you should know that there are two main types of professional cameras: DSLRs and mirrorless cameras.
Mirrorless Cameras vs. DSLRs
Mirrorless cameras are a great option for live streamers because they’re smaller and lighter than DSLR cameras. But they still get phenomenal photo and video quality. And there are a lot more mirrorless cameras and lenses available than there were just a couple years ago.
The M50 is a great entry level mirrorless camera and it’s a favorite among Ecamm Live members because it’s plug and play. All you need is a USB cord to connect it into Ecamm Live. You don’t even need a capture card. The important thing to note is that you’ll need a micro USB cord. It’s actually a pretty popular cord and the same one that Android users have been using for the past 10 years or so, so you may already have one lying around the house. Make sure that it’s a data cable and not just a charging cable. Not all cables are created equal. How can you tell? If you plug the camera in and it comes up, it’s the right cable. Didn’t work? You’ll need to order one. If you’re ordering one, be sure to type in micro USB data cable. If you have a newer Mac and you decide to use USB C, look for a USB C to micro USB cable.
Don’t Forget the Power Adapter!
You’ll definitely want to grab a power adapter with a dummy battery to get continuous power while you’re streaming. It makes a huge difference. There’s nothing worse than a camera running out of battery power when you’re in the middle of a broadcast. Simply pop out the camera’s battery and pop in the dummy battery and then plug it in. Boom continuous power.
Camera Settings
Out of the box, there are a few settings that need to be changed in order for you to get the best video quality. These are our recommendations, so feel free to continue to tweak and fine tune your own settings to your liking.
If you want to turn off that annoying guided menu, press menu, make sure it’s on display level menu display and change that to standard. You’ll definitely also want to turn off the feature that turns the screen off every time your hand is over it, so go to menu, make sure it’s on the wrench. Go to number four, go down to display settings, and change display control to manual. Don’t make the mistake that I did and make sure your cameras on video mode, not p mode, not m mode, or any of those other modes.
If you’re feeling intimidated, go ahead and try it on auto. That’s the default movie mode. Choose manual movie mode, set the camera to record at 30 frames per second.
A good rule of thumb is to double your frames per second to get your shutter speed. So go ahead and set it to one 60th of a second. Now you want to lower your aperture to as low as they can go. If you’re just starting out with the kit lens, it likely won’t give you any blurry background. Once you upgrade your lens to something with a low aperture, you’ll definitely have that blurry background.
A Word on ISO
Now go ahead and adjust your ISO. Make sure you have a lot of light. You’ll want it to be as low as possible in order to have the least amount of graininess. Aside from the kit lens that comes with the camera, another popular lens is the Canon 22mm F2. Or the Sigma 16mm F1.4. There are tons of older lenses for Canon DSLRs. They aren’t natively compatible, but you can get an adapter that will allow them to work with the M50.
When you’re ready to upgrade, I highly recommend you grab the Sigma 16mm F1.4. It’s expensive, but definitely worth it. It’s a unique lens in that you can have it pretty close to you. But it’ll give you that great blurry background.
The Canon M50 and Ecamm Live Virtual Camera
Now that you’re loving using your Canon M50 in Ecamm Live, you can also take it into other apps. Yes, apps like Zoom, Meet, Facebook Messenger Rooms, and more. You’ll need to use Ecamm’s virtual camera. (To use the Ecamm Live virtual camera, you’ll need to make sure you’re an Ecamm Pro subscriber.)
In Ecamm Live, go to the output menu, select virtual cam, and install the virtual cam.
Once the virtual camera is installed and turned on, you should see it come up as an option. Make sure you have Ecamm Live open and your Canon connected.
Now you can do things like tweak your picture settings, change your color grade, apply LUTs, and more.


