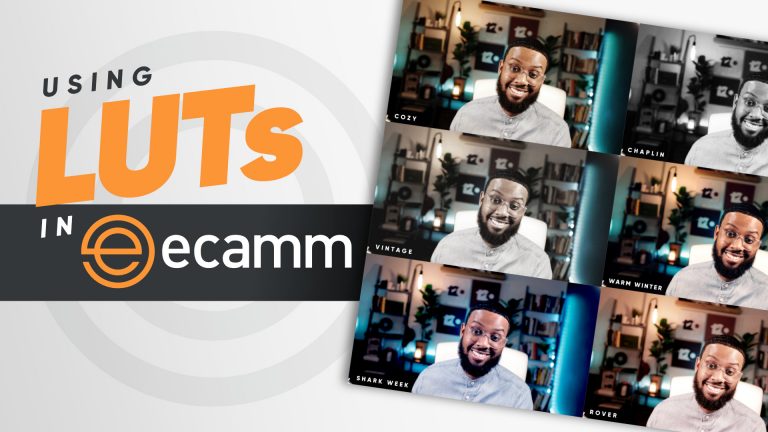
Did you know you can improve your video quality in Ecamm Live by using LUTs?
Many users don’t know this somewhat hidden feature exists within Ecamm Live, but not only is it there, it can make a big difference in how your video looks. You can find the LUT upload button in the Camera Settings menu with Ecamm Live.
Watch Marshall Fox from 120 Design Studio break down exactly what a LUT is, why they’re important, and how to apply them in this helpful tutorial video.
What is a LUT?
A LUT is a Look Up Table.
Without getting too technical, a LUT contains all of the information for your video, like color, saturation, hue, luminosity, and a bunch of other stuff. It’s basically like a color grade for your video. If it helps, you can think about it like an Instagram filter.
As you know, in Ecamm it gives you the option to adjust the picture settings like brightness, temperature, tint saturation, etc. What a LUT does is allows you to apply other settings to your video that aren’t necessarily available within the picture settings. So what you do is find a LUT, apply the look, and then adjust the intensity to your liking. All of this helps give your video a unique and professional look.
How do you find LUTs?
There are lots of companies that create and sell packs of LUTs. If you do a simple Google search, you’ll see tons of examples of the kinds of LUTs you can use to apply to your videos.
Marshall recommends Envato Elements, which is a subscription-based service that starts at $16 per month. They offer tons of templates for video and graphic design.
There are tons of options for where to get LUTs. The only thing to keep an eye out for is that most LUTs are a little on the dramatic side. They’re very cinematic. They are often designed for film and not necessarily for live stream broadcasts.
How to Apply a LUT in Ecamm Live
So now you’re surely asking yourself “okay, how do I apply a LUT in Ecamm Live?
Disclaimer: This process is not as easy as just “applying a LUT” and going live. There are a lot of factors at play when it comes to achieving the right look for your specific needs. Things like lighting, the type of camera that you’re using, the lens, and then the settings available within the camera.
There are three things to consider when applying a LUT.
The first is your camera’s specific settings. For example, the Canon M50 that has something called “picture styles.” All those things are adjustments to the actual color in your video before it gets from the camera to your computer.
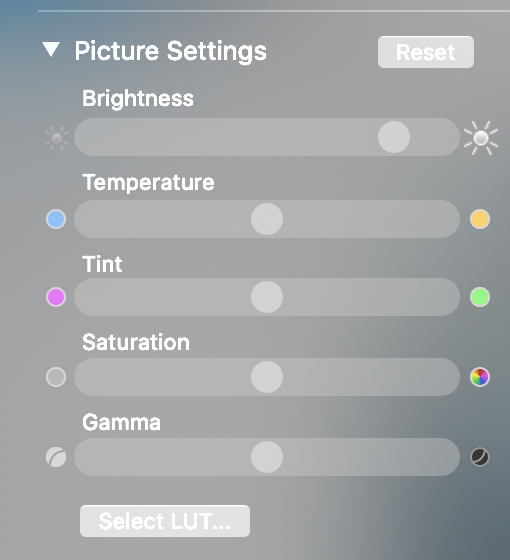
The second thing to consider is the picture settings within Ecamm. Those are the things like brightness, temperature, tint, saturation, and gamma. They are located within the camera settings.
The third thing to consider is LUTs.
So let’s get into it.
You’ll want to over to the the Camera Effects window in Ecamm Live. You’ll see the picture settings right below the Zoom & Pan.
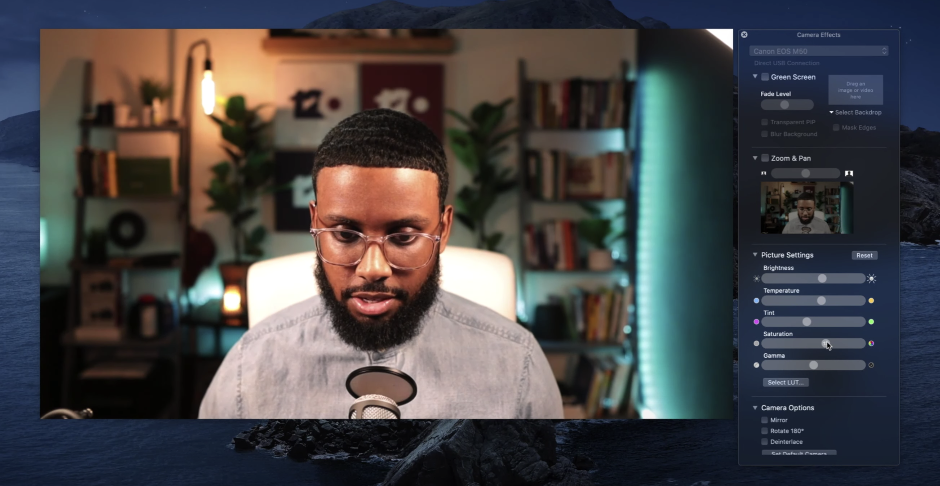
The good thing is, you can actually do a lot just by using these camera settings before you even apply a LUT.
Below the camera settings, you’ll see a button called “select LUT.” You’ll click this button and select the LUT you’ve made or downloaded.
When you first apply the LUT, you may find it’s too dark or too “intense.” No problem! You can use the picture setting sliders to adjust to exactly how you like it.
The good thing is that you can switch this up as often as you want! Simply hit “reset” to remove the LUT and try another.
Want to Purchase a LUT?
Looking for a perfect LUT to use in Ecamm Live? Marshall has a number of gorgeous pre-made LUTs available for $10 each at www.liveluts.com