Green screen is an amazing technology. It allows you to change your background setting and level up your presentations quickly and easily. Unfortunately, it can also look campy and unprofessional. There are some important aspects to consider when setting up and using green screen in your live streams or recorded videos. So let’s dive into the pros, the cons, and how to get the results you want.
In this article, we’ll cover:
- Best practices
- Common issues
- Proper lighting
Want to watch rather than read? Learn how to light your green screen from Luria Petrucci of Live Streaming Pros.
Best Practices
There are a few important things to know in order to be successful at this. One of the first things to is green screen isn’t (and shouldn’t be) for everyone. It’s harder than you think and it’s easy to do badly. If you’re hoping to use green screen to tidy up your home studio, you probably want to just tidy up or move your camera rather than going this route.
If this is still the best option for you, then keep these things in mind as you get started:
- Positioning – you ideally want to be three feet in front of your screen
- Lighting – light yourself and light the screen
- Clothing color – avoid green and yellow
- Perspective matters! Choose an image (or video) that is proportionate to you. Otherwise, it’ll look fake
- Camera – your camera and your lens matter. The better quality camera = better output. And remember that wide lenses may mean you’ll have to mask edges or zoom in
To set this all up in Ecamm, you can follow the steps in this tutorial video. Green screen settings are located in the “Camera Settings” window of the app. You can do things like select green or blue, mask edges, choose your background image or video, and use the fade level to adjust.
Pro tip! You can actually adjust the settings of your interview guest’s green or blue screen in Ecamm.
Common Issues
As you’re getting set up, you may run into some of these common issues.
- Shadows – this means your screen is either not lit well enough or the screen is too close to you
- Halo effect around your head – this can be caused by your hair color or hair style or lighting and can be solved by using the “fade level” setting in Ecamm to adjust
- Cut off hands/body parts – this is caused by moving outside of the area. The only solve for this is to limit your hand movement or use a wider screen (paint, fabric, etc)
Solve common issues by starting with your lighting and then looking at your camera and lens and then the settings in Ecamm Live (in that order). Remember that green screen is never going to be perfect.
Lighting
Here’s the thing. You can use just about anything for your green screen, including paint, felt, fabric, large pieces of green construction paper, or something more professional like Elgato’s retractable chroma key background. What matters isn’t the screen itself, but how you light it.
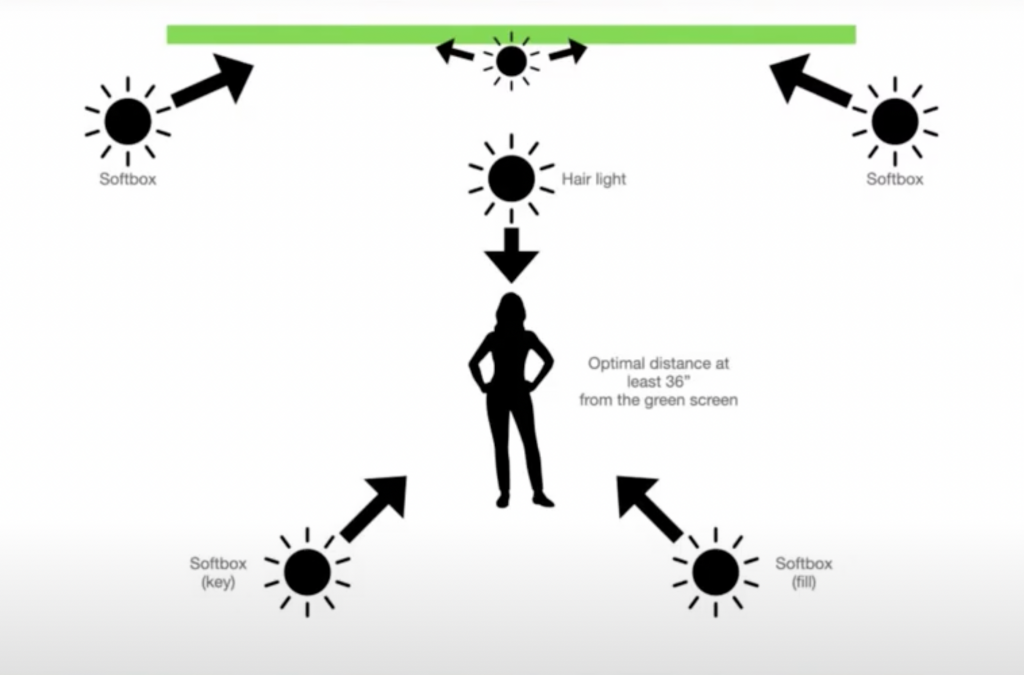
Assuming you already have your own video lighting nailed down, you’ll just need to focus on lighting the green as well. Here’s a helpful lighting diagram from our friends at Live Streaming Pros.

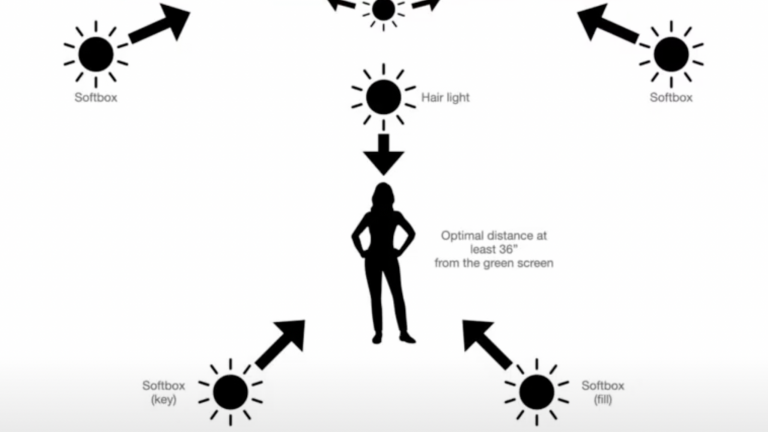
As you’ll see above, you need to have your own 3-point lighting set up and then three additional lights for the green screen: softboxes on each side of the screen pointing inward and a light in the middle pointing down at the screen. Increasing the light’s brightness on one side isn’t going to be a substitute for having less lights, unfortunately. It’ll just create a “hot spot” on your screen on one side and keep those shadows on the other side.
A Final Note
You’ve got this! If you want to practice, you can always join us in the Ecamm Community or Discord server. Remember to have a good idea of why you want to use green screen before you get started. It might just be easier (and more professional) to skip green screen, depending on your use case.


