Here at Ecamm, we get asked a lot of questions about how to build a live streaming studio. Everyone always wants to know what’s in our video gear guide – specifically what cameras, microphones, lighting, and computers do we recommend in order to create professional live stream broadcasts, videos, and podcasts.
Well, you’ve come to the right place.
In this post, we’re going to break down how we turned an Ecamm office into a live streaming and video production studio and show you how you can do the same.
Bonus! It doesn’t actually matter what your space looks like or how big or small it is. You may have a small home office or large studio space. The general principles are the same. Our office actually used to be a yoga studio.
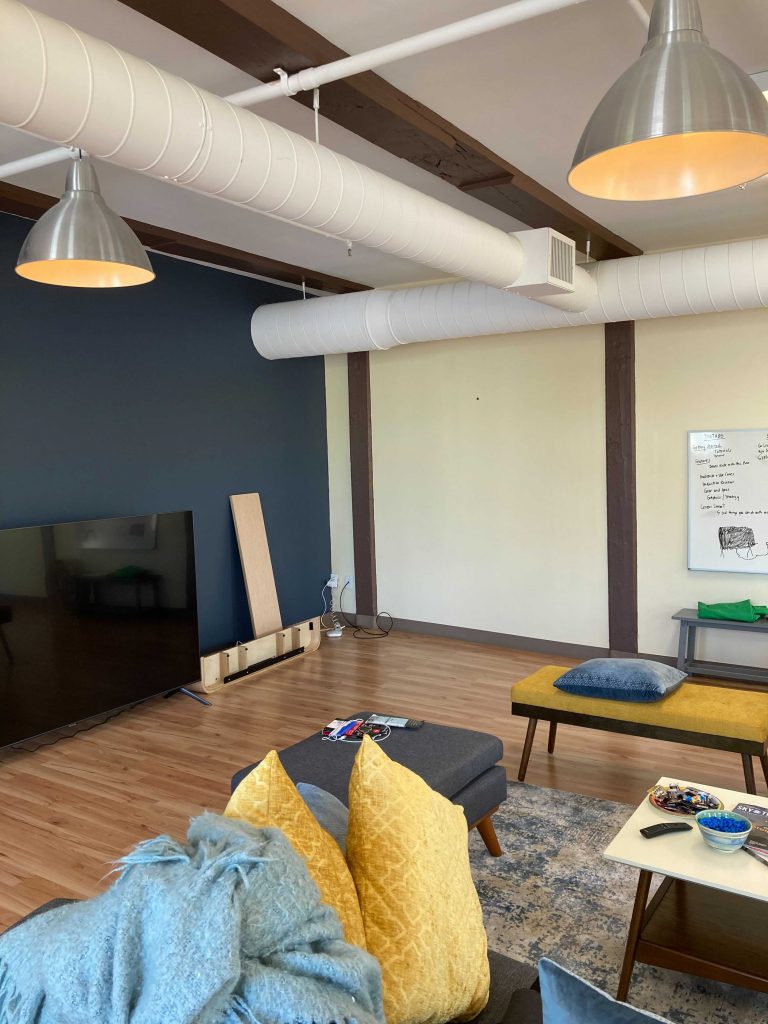
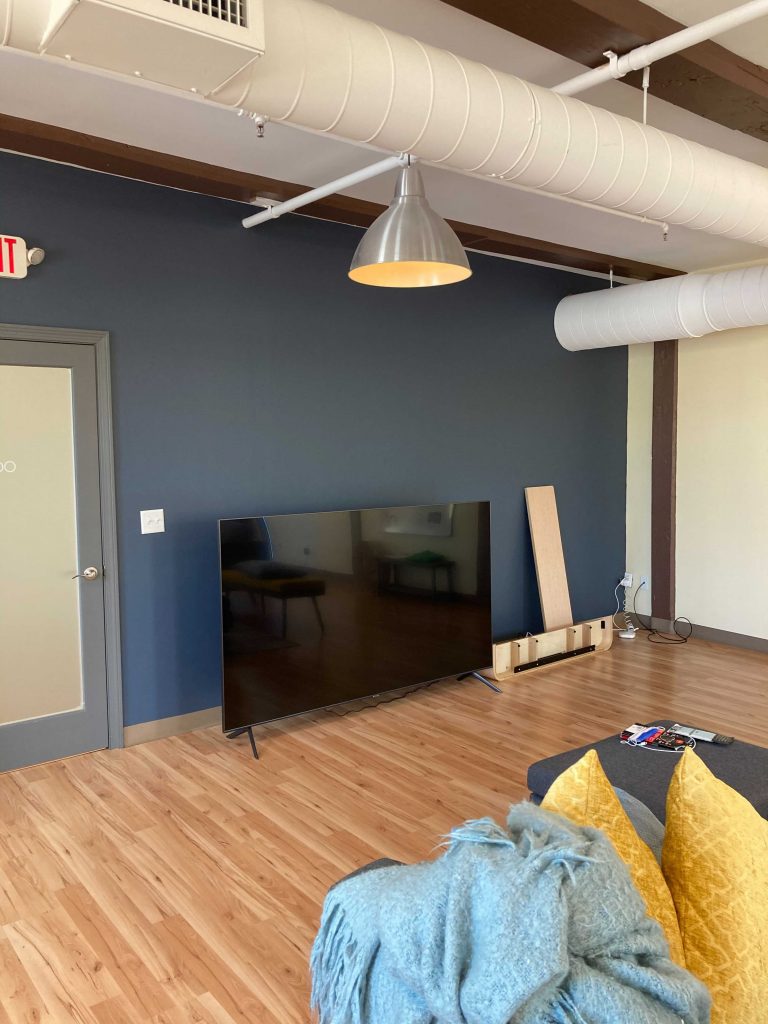
Here’s what it looked like before we started.

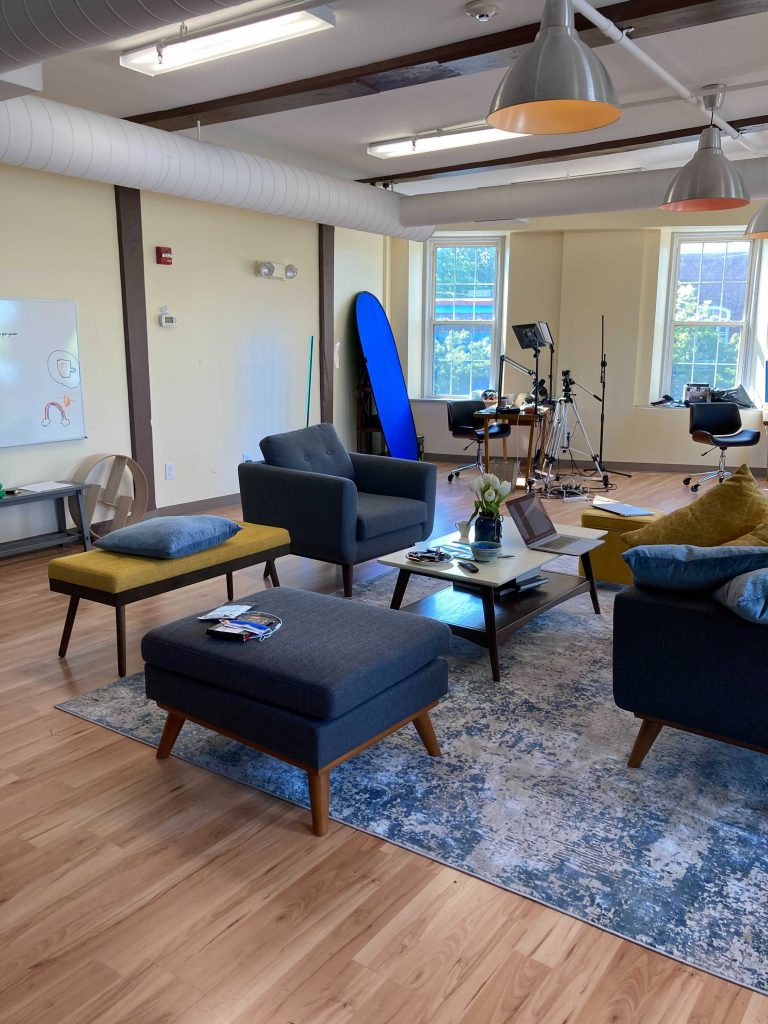
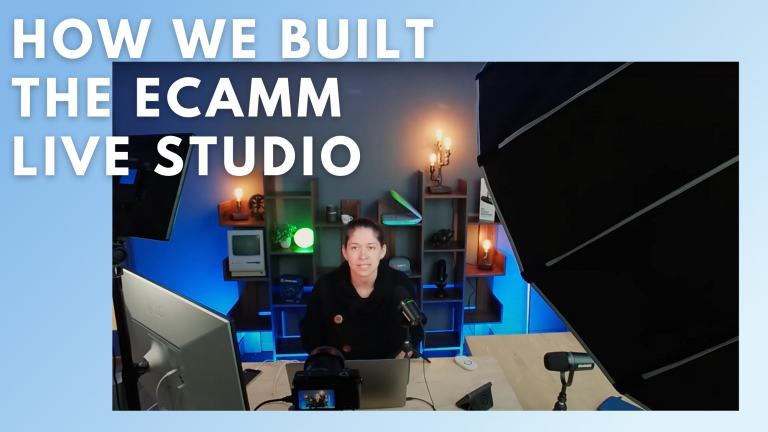
And here’s what it looks like now.
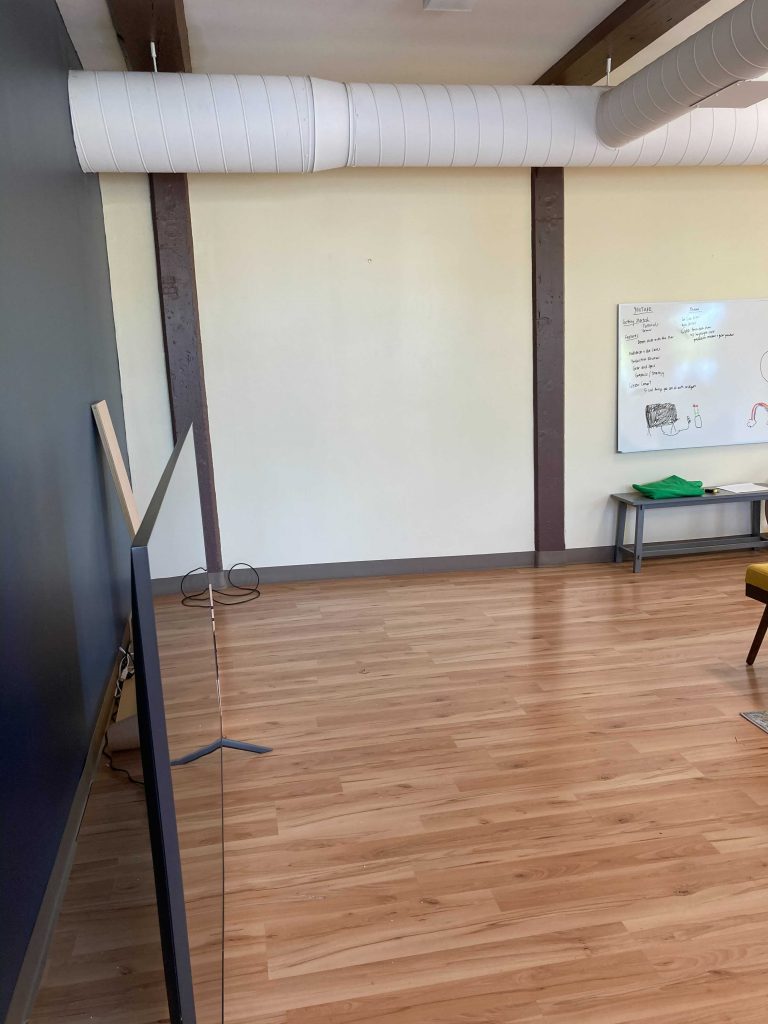
Here’s the space from a different angle.
Planning Out Your Live Streaming Studio
Before we gave any thought to what cameras, lights, or microphones we would need, we took inventory of what we had (a big open, empty space) and started thinking about our goals.
Ecamm is a live streaming and video production company, so we want to use our space for live streaming, recording videos, and testing out all kinds of different gear so that we can answer your questions and make recommendations.
We also have an Ecamm monthly Q+A hosted by our co-founders, Glen and Ken, so we wanted to make sure that we kept that in mind when planning out what we needed. After all, we want those broadcasts to shine.
Given all of the above, what really mattered most to us in our studio was the following:
- Flexibility – the ability to change it up easily
- Ease-of-use – walk in, turn things on, and go
- Professionalism – look and sound amazing
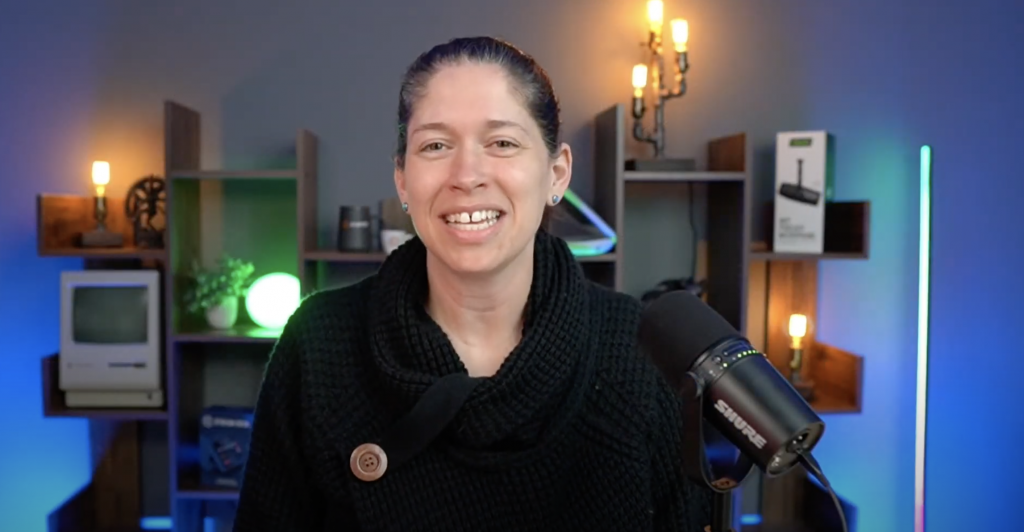
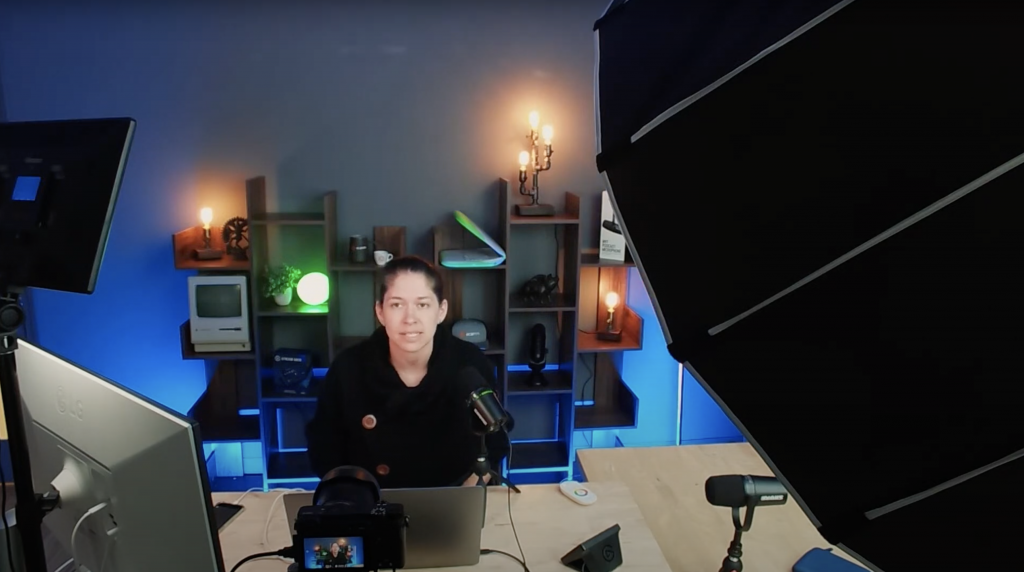
So we decided to build our studio in the corner of one of our office spaces. This gives us a lot of flexibility. Our regular set up looks like the above photos. One or two people are sitting or standing at the desk in front of a camera with bookcases behind us that help to add personality.
But that’s not all. On the side, we’ve built a wood wall and positioned one of our comfy chairs in front of it. So when we want to do a more casual live stream conversation, we can reposition the camera, lights, and microphone and come to you in a “fireside chat” kind of format.
Finally, we purchased a round table and chairs that we’ll usually use for lunches or meetings, but can be easily positioned in front of the camera for a roundtable style discussion. Like what Ear Biscuits does here.
Let’s Talk About the Challenges
Our main concerns for our space were:
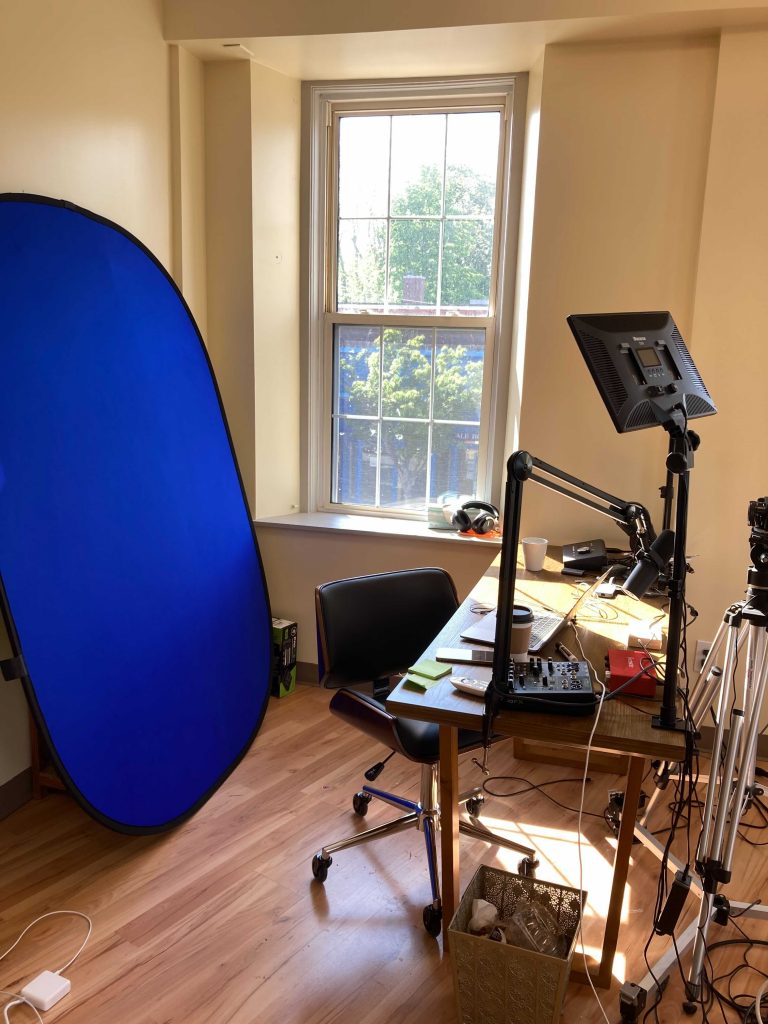
- The eight windows. Tons of natural light that we can’t control.
- How big and open it is. Making it super echo-y on camera.
Not too bad, actually. We were able to solve these challenges pretty easily. We ordered black out blinds for all of the windows at SelectBlinds.com (and learned how to properly measure our windows!) and we purchased some noise-reducing wall dividers from Amazon. If you don’t have a big budget, but need something similar for your large space, you can actually build your own. Here’s how:
Why Westchester Grey?
We took Doc Rock’s advice and painted our background wall Sherman Williams’ Westchester Grey. The reason we did this is because this particular shade of grey actually allows us to use lights to change the color of the wall. This helps us satisfy our goal of flexibility. We can change our background color to blue, purple, orange, red… whatever we want at the push of a button.
One of the things we’ve always loved is the look of color lighting in video. Like what Marielou Mandl does here:
We also love the look of Doc Rock’s videos here:
So our end result is a detailed set with bookcases and props to show our brand personality, but also pops of blue lighting beneath to add texture and make everything just look awesome.
The Ecamm Live Gear Guide
OK, let’s dive into what you really want from this post – the gear. Here’s what we have in the space. Please remember that you need to think through your own use case and needs before purchasing gear AND follow Diana Gladney’s rule and ALWAYS read the manual and spend 30 days using your gear daily before you rely on it in your studio.
Also, do yourself a favor and buy backup cables for your cameras and microphones. You won’t regret that decision.
Computer & Software
- 2019 MacBook Pro (we’re in the process of updating to the 2021 M1 MacBook Pro)
- Ecamm Live (obviously) – we’re on v3.9 because it’s awesome.
Cameras
- Sony A6400 with a Sigma 16mm e-mount lens (the lens is what gives the bokeh or “blurry” background effect)
- Sony ZV-E10
- Elgato FaceCam
- Camo by Reincubate (Ecamm members get a discount – see our Perks page)
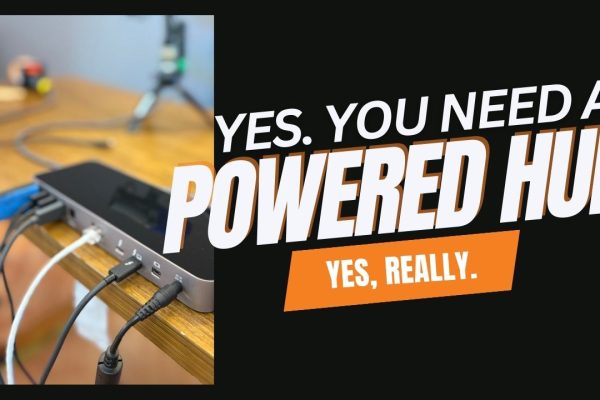
We connect the Sony cameras to our Mac with an HDMI cable and CamLink 4K. The FaceCam connects via USB. Camo is an app on our iPhones and requires our phone to be plugged into the computer. Everything plugs into an OWC Thunderbolt Dock.
Don’t forget that you’ll also likely need things like tripods and back-up batteries.
Microphones
We use earphones when interviewing guests. Our recommendation are the Linsoul KZ ZSN earphones. They’re comfortable, hide well on camera, and work well.
Sound is the most important part of live streaming and video production. It also gets difficult really quickly, so really think through what you’re trying to do. The Shure MV5 is a simple USB microphone. Plug and play to get better sound. The Shure MV7 has both USB and XLR and the Shure SM7B is XLR only. Of these, the SM7B has the best sound, but you’ll need to get a Rodecaster Pro or other audio interface in order to connect it into your Mac and use it for video.
Lighting
- Nanlite Forza 60B Bicolor LED Monolight Kit (this is our main light, Para 160 Softbox, and Pavo Tube II (these add the color to our Westchester Grey wall)
- Dazzne D50 (fill lights)
Other Gear
We’re not going to include everything we have, but here are some of the other things that we use often in the studio.
What About Internet?
Before we close out this post, it’s really important to remember that without strong internet, you’re not going to get very far with live streaming.
We always recommend going with hardwired internet if you can manage it. If not, go with the best wifi you can afford. Consider tools like Speedify that help you get the best connection. Another thing to keep in mind when it comes to internet connectivity is what time of day you’re streaming at and where you’re streaming from. Business vs. residential makes a difference.
Here’s Dan Holloway and Katie Fawkes with more on internet for live streaming.
A Final Word
Having a defined studio space not only makes it easier and faster to set-up and deliver professional video, but it also helps build on-camera confidence. When you know your gear and what you can do with it, you’ll feel more confident being on camera.
Want to practice or share your gear recommendations or questions? Join us in the Ecamm Community today.