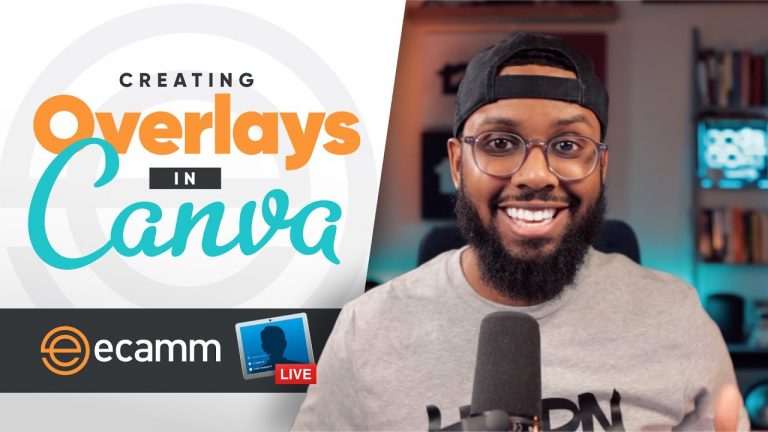
If you’re a live streamer or a video content creator, chances are you’re going to need some professional looking overlay graphics for your videos. You can definitely buy overlay graphic packs and drag and drop them into Ecamm Live OR you can follow these steps from Marshall Fox to easily create your own using Canva.
And guess what? You don’t even need the paid version of Canva.
Watch the Full Tutorial
Step One: Canva
If you don’t have a Canva account, you can sign up for one at www.canva.com. The paid version is fantastic and there is a lot you can do with it, but you do not need anything but the free account for today’s tutorial.
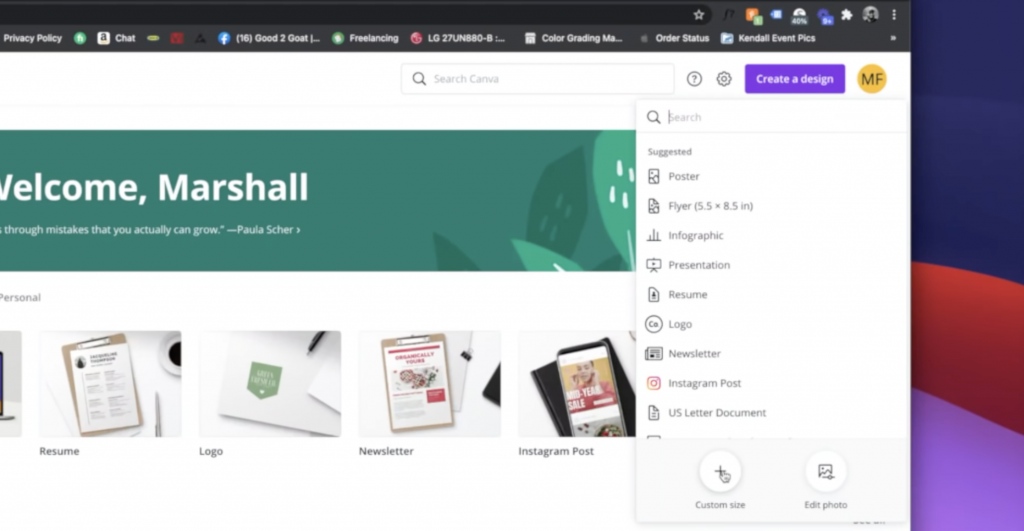
Start by clicking on the purple “create a design” button at the top next to your account icon.
What I recommend doing is clicking the custom size button and then typing in 3840 x 2160 pixels (since this is 4K). It’s not necessary, but once we get to the second part of this tutorial it’ll make cutting out the transparent sections a lot easier.
Okay, once you have your size then you can go down to Background in the left hand menu and select something you like from their options. They have different gradients, patterns, landscapes, textures, and more.
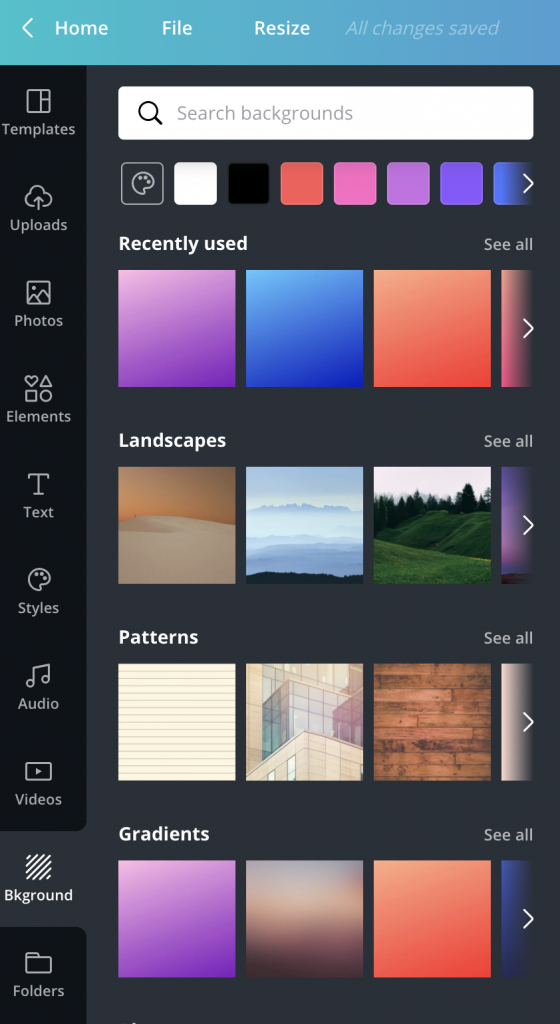
Choose whatever you like. Once you’ve made your background selection, you’ll want to go to Elements in the same left hand menu and choose the shape that you’ll want your video in. In this example, we’ll go with a tall, rectangle and we’ll make an overlay for a three person interview in Ecamm Live.
Choose the shape that works best for you in Elements. You can use command D to duplicate it. Then space everything out how you want it to look in your final overlay.
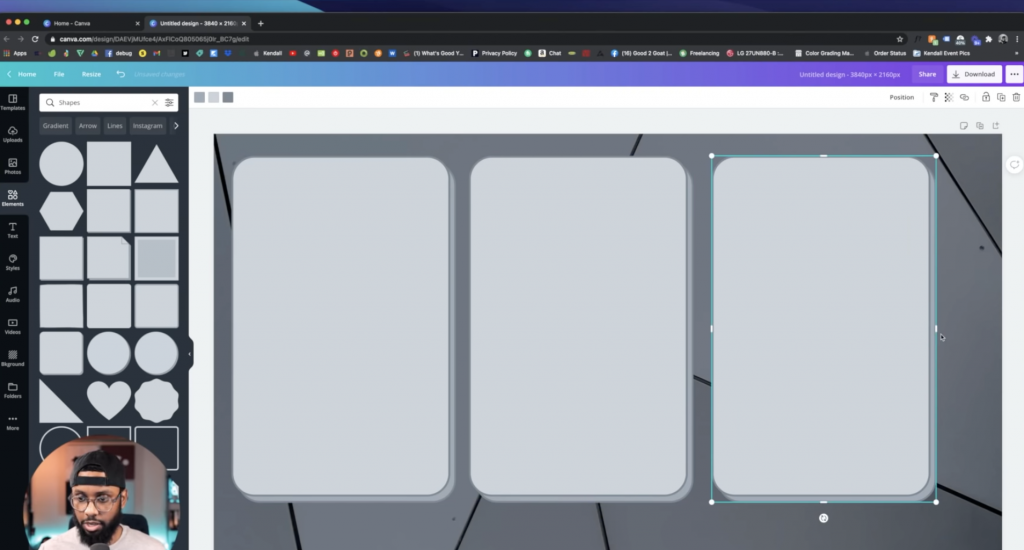
You can eyeball this part of the process. I left space at the bottom of this example because you may want to have comments featured on screen and you don’t want those to cover up your guests’ video.
Make the boxes white by clicking on each and then selecting their color at the top of the screen.
You can go ahead and do other things like add guest names here or your logo. Add whatever else you’d like to have in the overlay design.
Now, download the file as is by clicking on the Download button in the top right hand corner. Don’t worry about transparency yet.
Step Two: Open in Preview
So this is where the magic happens. It’s a bit of a workaround, but it works well. Open up your graphic from Canva in Preview. Hit the little marker button at the top right of Preview to “Show Markup Toolbar.”
And then click the “Instant Alpha” button on the top left hand.
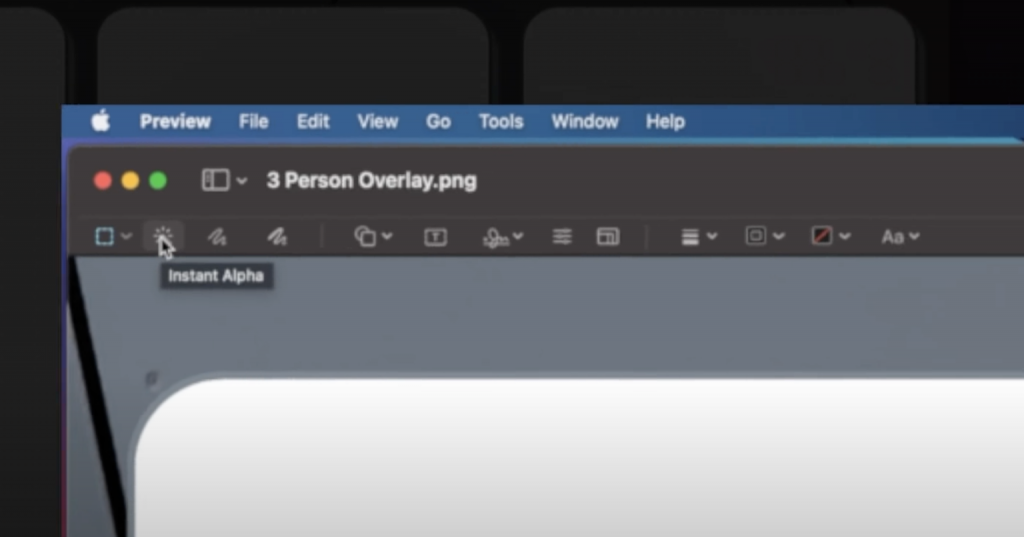
Click the white area until it highlights red and then let go. Now click delete. Do the same for all three of the boxes that you want cutout.
If you select too much, then the whole thing will be deleted. If you do that by accident, just hit command Z and try again. It may take you a couple of tries. Once you’ve deleted all three boxes, go ahead and save it.
Step Three: Open Ecamm Live
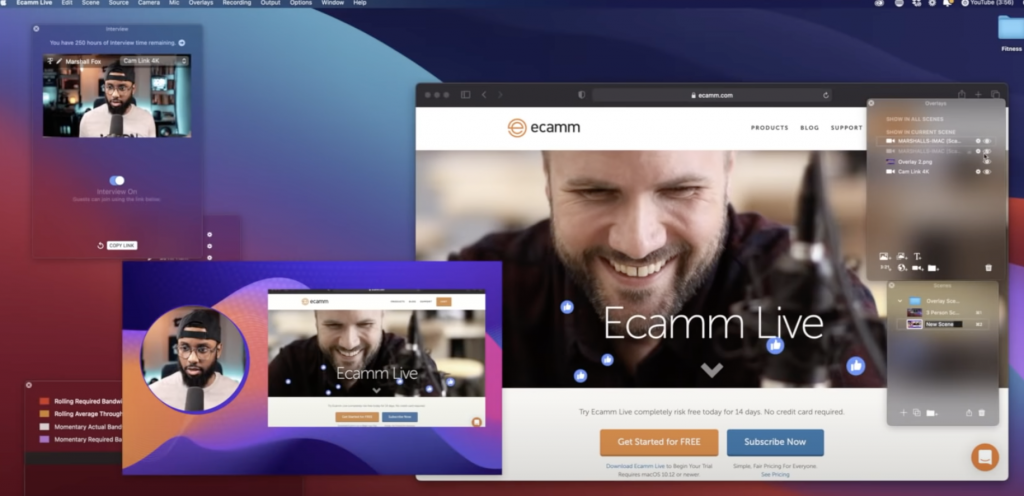
Fire up Ecamm Live so you can test out your new overlays. Once Ecamm Live is open, you can either drag and drop your new overlay into a Scene or go up to the Overlays menu and click “New Image Overlay.” This will let you select your file to bring into Ecamm Live.

If you’re using Ecamm Live’s Interview Mode, you can use the guest presets in the Camera menu to add a three person split screen to your Scene. Make sure your overlay is layered on top and you’ll be good to go.
If you created an overlay that has a circle shape or perhaps a different layout other than split screen, I recommend you use Ecamm Live’s Camera overlays in the Overlay menu to ensure that your video fits perfectly where you want it. Again, make sure to bring the overlay you created to the top so the video sits underneath it. You’ll also want to make sure to change the Source in Ecamm Live to “blank” so that you can layer on the cameras in the shape you want and then drop the overlay on top.
For camera overlays, be sure to click the pencil icon on the left side of the overlay to change its shape.
Use NDI Tools for Screen Sharing!
Let’s say I’m trying to screen share during my live and I’ve made a branded overlay for that scene. I’m on the left hand side in my overlay and then I have my screen sharing cut out so my screen can come through.
I will have to reposition it, but depending on how big your screen is, and if you’re running your entire presentation and live stream from one monitor, this may not be feasible. So another way would be to use NDI tools.
Let’s go to NDI Tools. We’re on Mac so we would click NDI tools, go to download NDI tools for Mac and put your information in. Then you want to install the one that says NDI Scan Converter.
Once it’s installed and you open it up, you want to go to file and then select which application you would like to share. When you’ve made that selection, it’ll come into Ecamm Live as a source.
So set your source as blank in the scene. Add your camera overlay (video of you – I chose a circle for this) and then add another camera overlay and make sure your NDI is selected. I’ve named this “Marshall’s iMac scan converter,” but you chose whatever works for you.
Then you can resize it however you want and put the camera overlays behind your designed overlay from Canva.
The Possibilities are Endless!
If you experiment, use different shapes, use different backgrounds, just play around with it a bit. Don’t get overwhelmed. You’ll have a lot of fun and it’ll really helped to upgrade your livestream game.