There are lots of ways to start a video podcast in 2023. In this article, we’re going to cover how we launched The Flow video podcast and what our weekly process is. Feel free to steal this easy step-by-step video podcast workflow to start your own podcast.
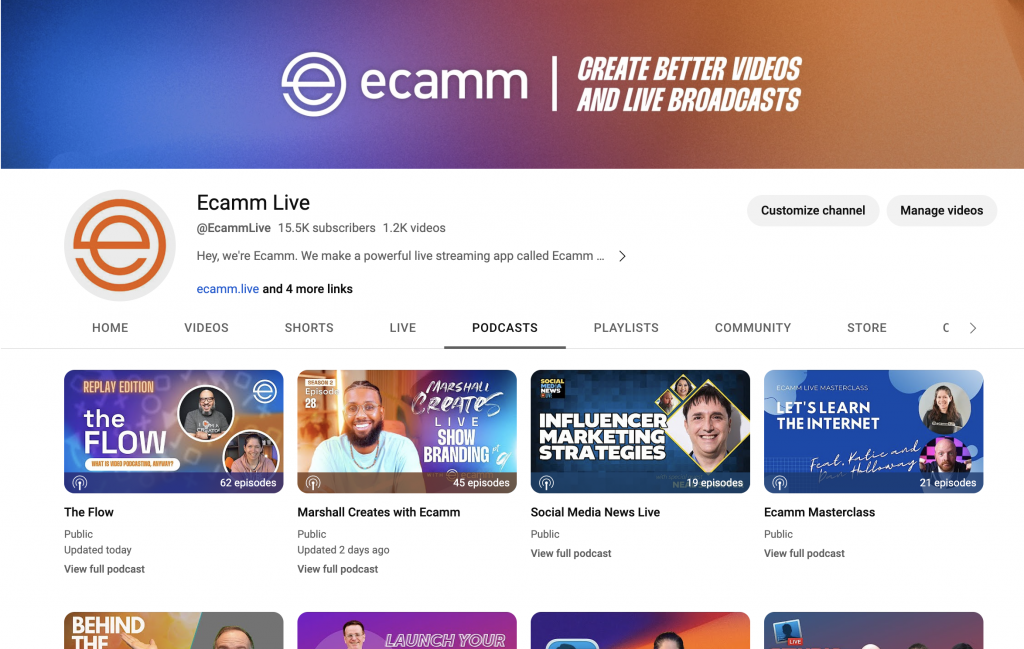
Step 1: Create a YouTube Channel
YouTube Podcasts operate a little differently than audio-only podcasts. You won’t be able to just add YouTube as a podcast player (like Apple Podcasts or Amazon Music) to send your show to from your podcast host. You’ll need to start with YouTube instead. If you already have a YouTube channel, you’ll need to think about whether you want your video podcast to be part of your existing YouTube channel or if you’d rather create an entirely new channel.
Here’s the thing. YouTube Podcasts are basically just playlists that also get sent off to the YouTube Music app and get categorized by YouTube as a podcast. This means that you can convert an existing playlist on YouTube into a podcast or start fresh. And you can do this as many times as you’d like. Bonus: it’s all free!
Some important things to keep in mind when setting up YouTube for podcasting:
- Name everything correctly and make sure it all matches up. For example: The Flow Video Podcast is the name of our YouTube Podcast and is the same name we use on our Captivate account and is the same name that goes out to all of the podcast players.
- If you’re brand new to YouTube and/or YouTube Podcasting, it may take a little bit of time for YouTube to grant you access to their Podcast feature. Don’t worry! Just set everything up correctly in a playlist and label everything as podcast. When they give you access, it’ll take seconds to convert it over.
- YouTube thumbnails are a different size than podcast art, but YouTube Podcasts actually allows both. As you’re creating your podcast artwork, make sure you have templates for both sizes (Canva is a great resource for this!)
- YouTube allows comments on their videos, so you’ll need to keep an eye out for questions and comments from your fans & followers.
Step 2: Get Ready to Record
On The Flow, we record “live in front of our YouTube studio audience.” What this actually means is that we live stream on YouTube every week. That’s how we’re recording our podcast.
This process has a few benefits for us:
- It’s great for engagement and audience building. Our fans who show up live feel part of the recording experience and we do a live Q&A at the end of the show just for them.
- It makes the content better because we have the energy of an audience.
- It keeps us on track. We know we have live viewers waiting for us each week, so it’s much harder for us to postpone recording or give each other excuses.
- At the end of the live stream, we’re done. The video and audio files go through to our editor and we can prep for the next show. We don’t give ourselves time or space to re-record.
Regardless of whether or not you choose to live stream your show, you will need to record it and get the file to YouTube one way or another.
Tools like Ecamm Live let you live stream, record video, add graphics, bring on interview guests, and capture isolated video and audio files to make post production work a breeze.
Step 3: Editing Your Podcast
Even though we live stream our video podcast to YouTube each week, we still work with an editor to polish the episode and get it ready for release. Our schedule is record live every Tuesday and release the edited podcast the following Tuesday.
This means that we actually end up with two different playlists on YouTube:
- Our live show recording playlist: this stays a YouTube playlist (not a YouTube podcast) and we keep all of the live stream replays there with no editing at all.
- Our YouTube podcast: these videos are the edited versions of our live recording and are uploaded each week to our YouTube podcast.
We intentionally keep our editing workflow pretty simple. Our editor is also our producer, so that means that at the end of our live stream, he already has all of our video and audio files and can quickly begin work on the edited podcast.
Step 4: Releasing the Video Podcast
On the following Monday (six days from our live recording date), we get the edited video and audio files back. Once we have our edited files, we do a few things:
- We upload the edited video file to our YouTube podcast and save it as a draft.
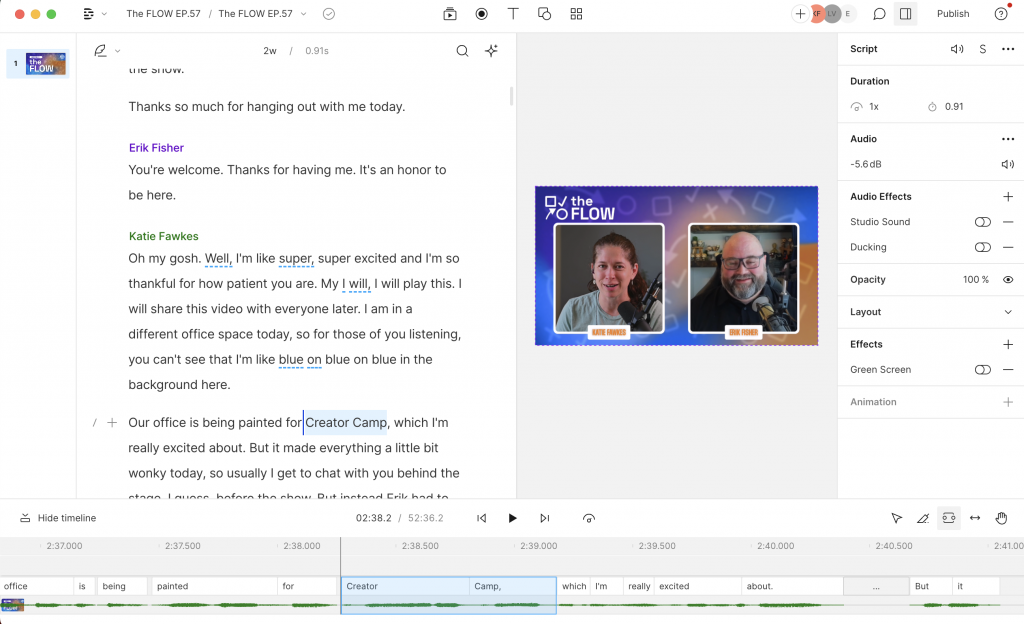
- Then we drop the edited video file into Descript where we quickly cleanup the transcript, download the subtitles, and create a couple of video clips for promo. Finally, we use the transcript to create chapters for the YouTube podcast episode.
- Next up, we upload the subtitles file to our YouTube podcast episode and add the chapters into the description. We double check that all of the information is complete and accurate.
- We schedule the video for release on Tuesday.
That is how we “release” the video podcast to YouTube, but it isn’t the final step in our process. Once the video is ready to roll out to YouTube, then we take the edited audio file and run it through an app called Auphonic. We mainly do this to make sure the levels between our host and co-host (along with any guests) are balanced and that the audio is as clean and high-quality as possible.
Once we have the final audio file ready to go, we log into our podcast host, Captivate, and upload the episode. The important things here are making sure the episode number, title, artwork, and show notes are all as complete as possible and match up with what we’ve already released on YouTube. Great news! Captivate has tons of incredible features, including templates, to make this process insanely easy.
Captivate then sends our podcast out to Apple, Spotify, Amazon Music, and a zillion and one other places. It is now officially out in the world.
A Word On Our Studio and Gear
We get asked a lot about what gear we have in our studio and what we recommend for those getting started with video podcasting. The most important thing to remember is this:
Audio first. If you have a limited budget, spend it on a great microphone. You can make do with everything else. Now that we have that out of the way, here’s how we’re creating and promoting our podcast:
Video Podcasting Gear
- Microphone: Shure MV7 (Doc uses a Shure SM7dB in his studio)
- Connected via XLR cable
- Audio Mixer: RØDECaster Duo
- Camera: Sony A6400
- Connected via Elgato CamLink 4K
- Lights: Lots of NanLites
- Orange Windscreen (for our mics): ReporterStore.com
Video Podcasting Software
- Video Recording/Live Streaming App: Ecamm Live
- Platform: YouTube/YouTube Music
- Podcast Host: Captivate
- Video Editing: Descript
- Audio: Auphonic
- Internet Magic: Speedify
- Social Media Management: Agorapulse
Want to Learn More?
Come join us on Tuesdays at 12pm Eastern on YouTube for the live recording of The Flow video podcast. Each week, we share tips, tricks, and how to on everything in the world of podcasting and video. You can listen whenever and wherever you’d like at https://flow.ecamm.com